---
description: OneAI Documentation
tags: Case Study, CVAT, EN
---
[OneAI Documentation](/s/LiV2Pb1FB)
# AI Maker Case Study - Annotation Collaboration with Multiple Users in CVAT
[TOC]
## 1. Introduction
CVAT (Computer Vision Annotation Tool) is a built-in annotation tool in AI Maker. CVAT multi-person collaborative annotation function enables you to manage assignment and staffing of annotation jobs and authorize annotation jobs to multiple non-project members for collaborative operation, so that external professional annotation manpower can be used under a secure and trustworthy control mechanism to more efficiently complete dataset preparation.
This case study will describe how to create a CVAT collaborative annotation account and manage assignment and staffing of annotation jobs. For more information about CVAT, please refer to the official [**CVAT documentation**](https://opencv.github.io/cvat/docs/).
## 2. CVAT Enablement And Login
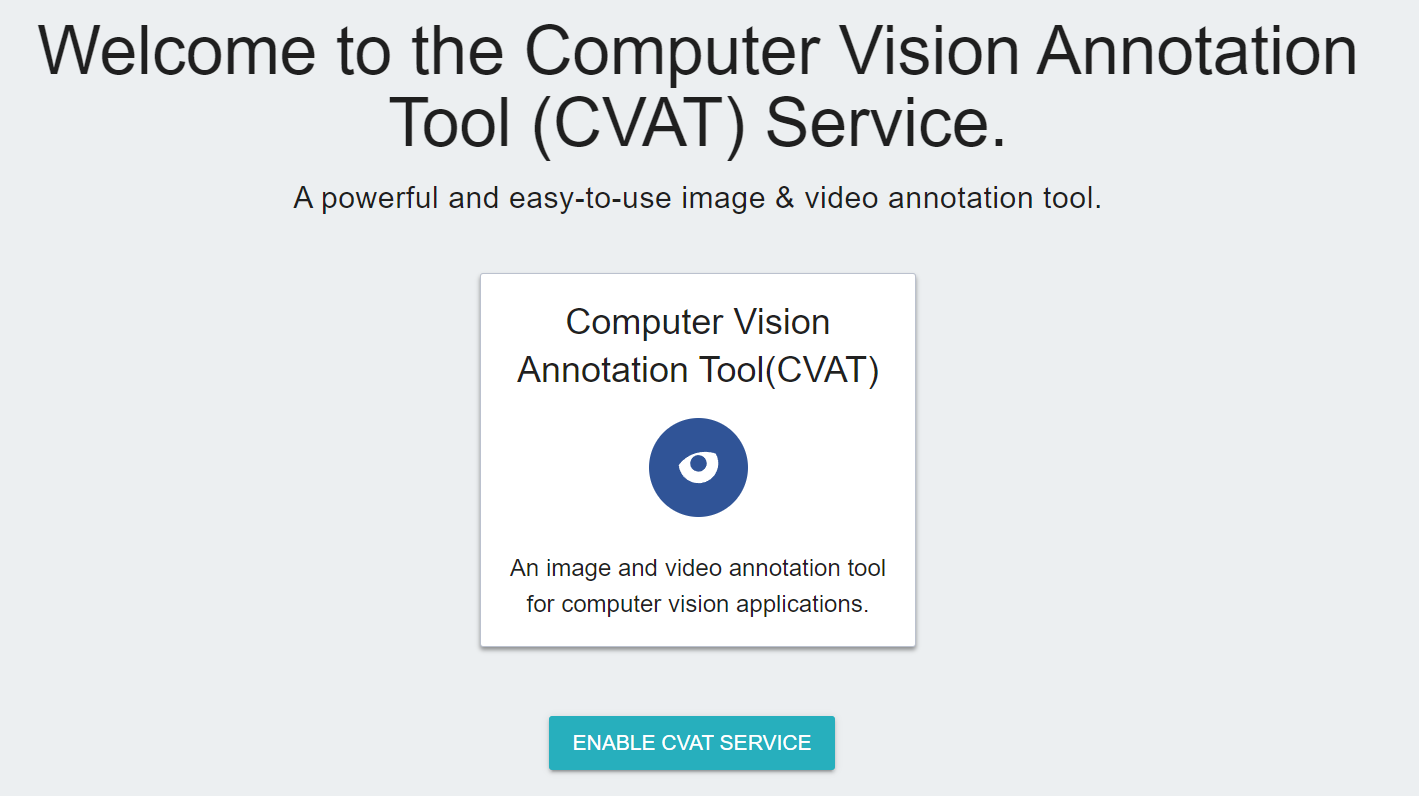
* Select **AI Maker** from the OneAI service list, and then click **ANNOTATION TOOL** to enter the Annotation Tool page. For the first use, you need to click **ENABLE CVAT SERVICE**.
* After CVAT is successfully enabled, the CVAT service link and account password will appear, and the status will be **`running`**. Click **Open** in the basic information to open the login page of the CVAT service in the browser.

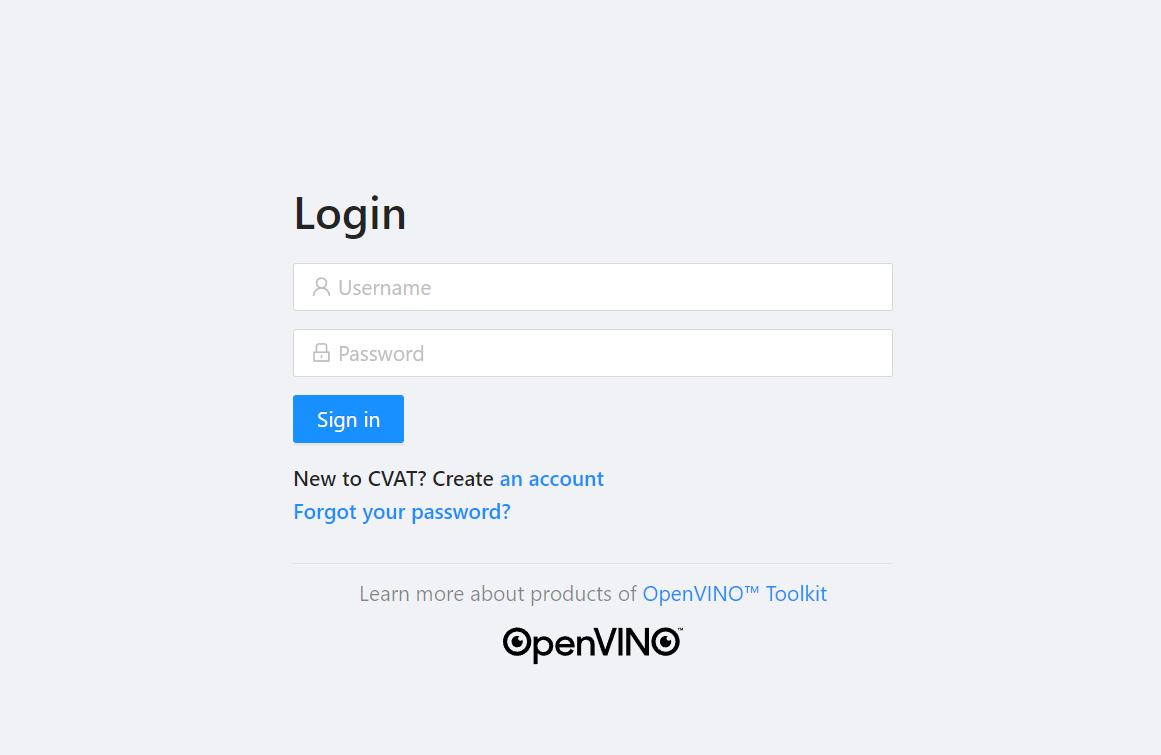
* Enter the account and password provided in the basic information to log in to the CVAT Service page.
## 3. Create Collaborator Account
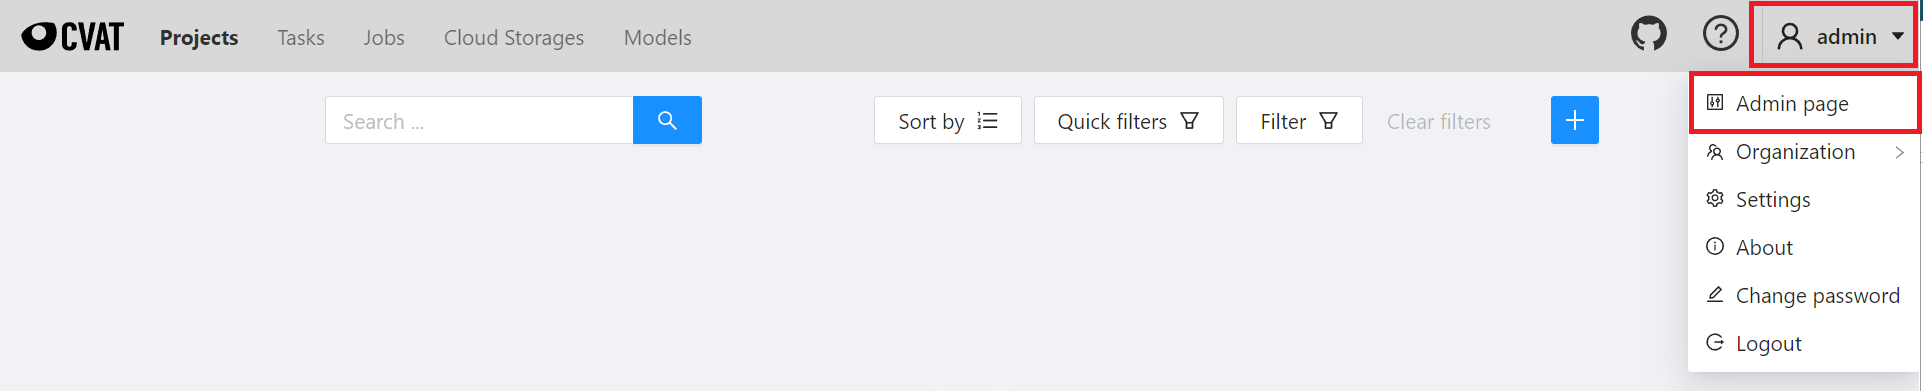
* Move the mouse to the account name in the upper right corner, and then click **Admin page**, the system will open the CVAT administration page in a new tab.
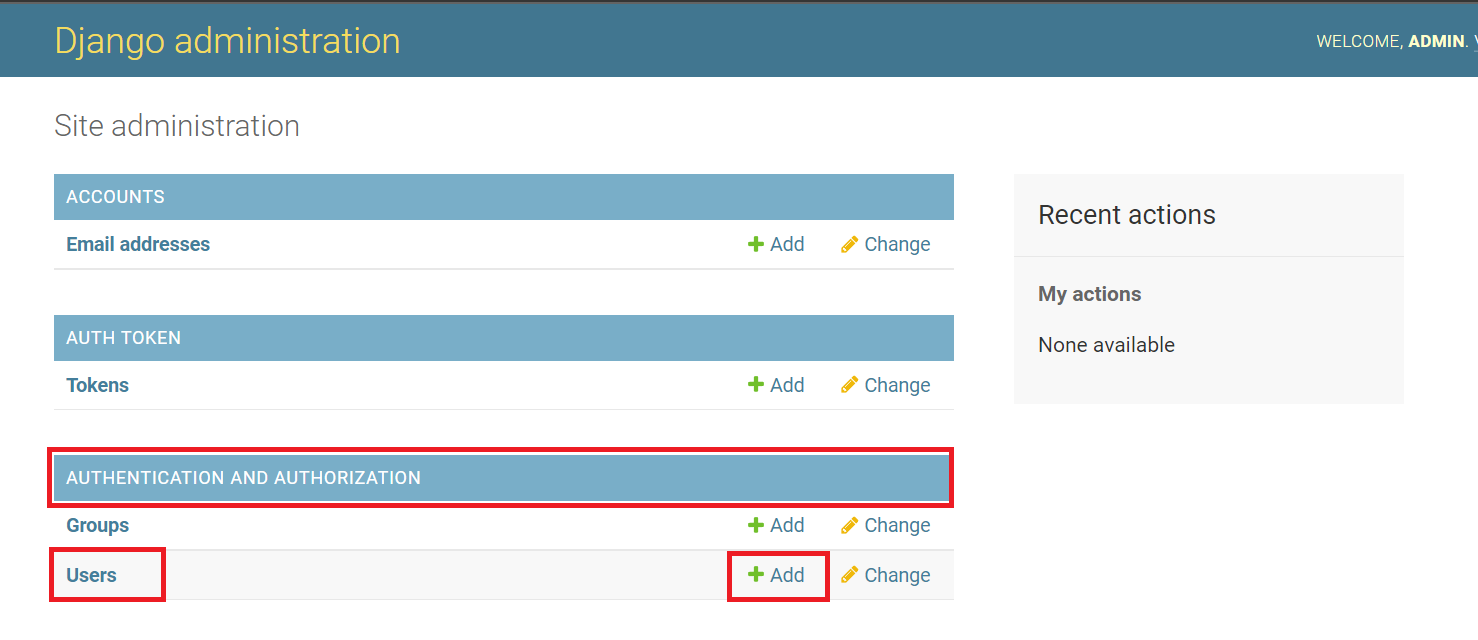
* On the **Site administration** page of CVAT, click **+Add** to the right of **Users** under **AUTHENTICATION AND AUTHORIZATION** to add a new user.
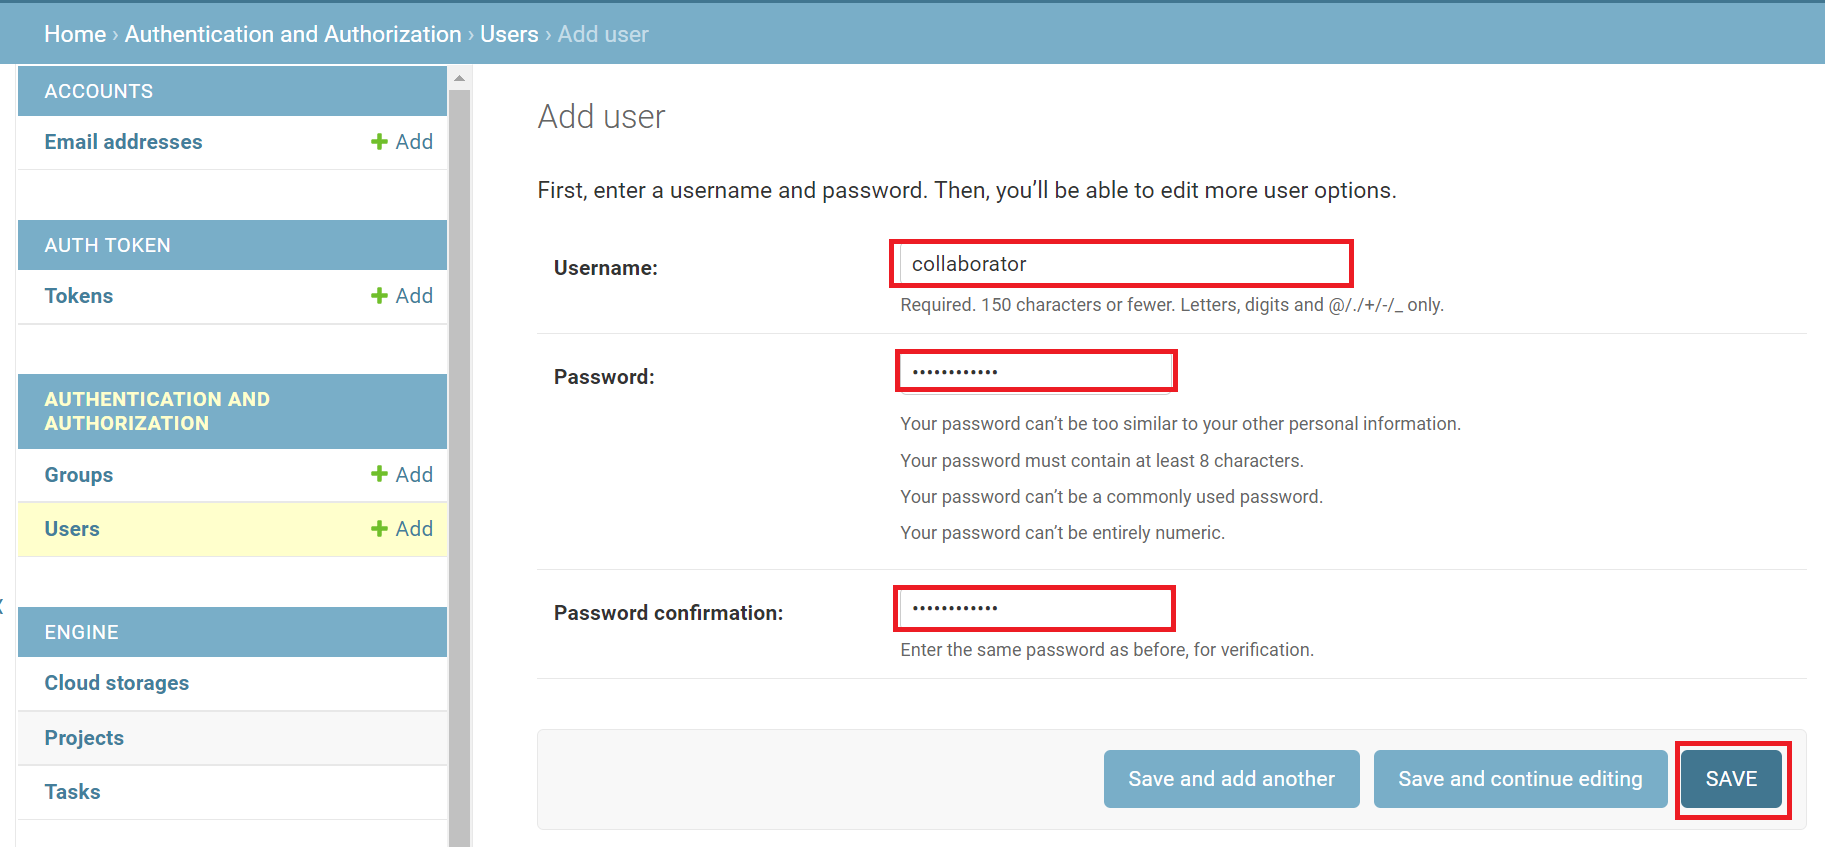
* Create a group of account of co-annotators. This case study uses `collaborator` as an example. After entering the Username and Password, click **SAVE** to enter the detailed settings page of the user account.
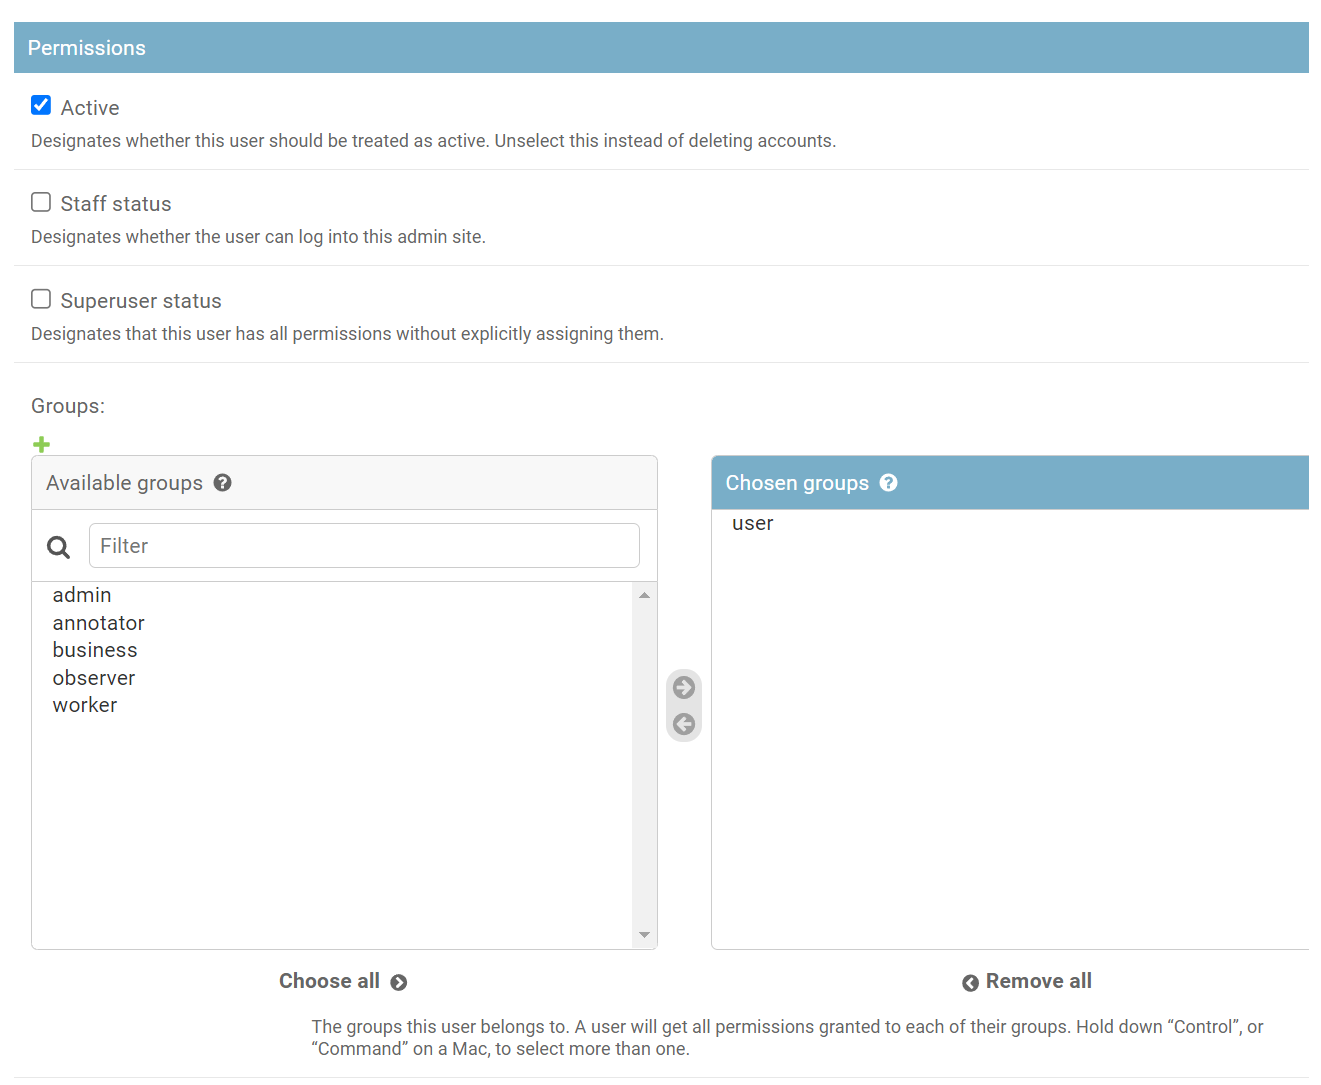
* In the **Permissions** section of the detailed settings page of the user account, you can adjust the account's permissions and group settings. This example uses the default settings of the system, please adjust it according to your needs.
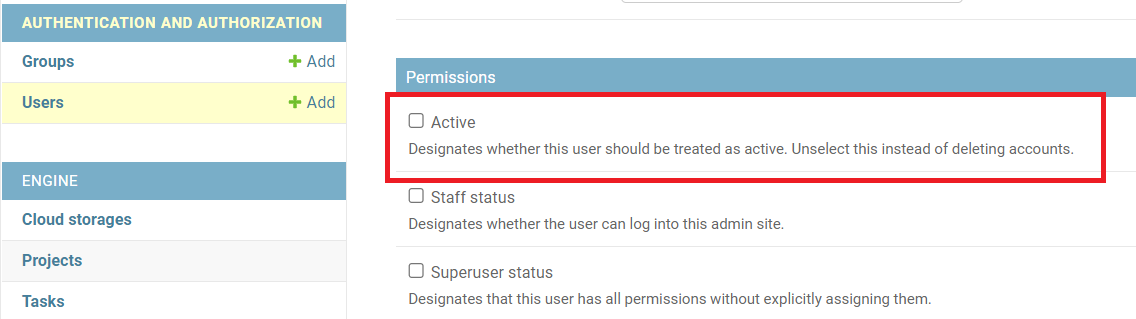
* Permissions
- **Active**: Set whether this user account is an active user. Uncheck it to disable the account. The default is checked.
- **Staff status**: Set whether this user account has staff status. When checked, it has permissions to access the Admin page of the CVAT platform.
- **Superuser status**: Set whether this user account is a super user. When checked, it has all permissions to access the CVAT platform.
* Groups
- **user**: The default group for newly created accounts.
- The system presets other group names for easy identification and management, you can choose them according to your needs.
## 4. Create And Assign Collaborative Annotation Tasks
### 4.1 Create Collaborative Annotation Tasks
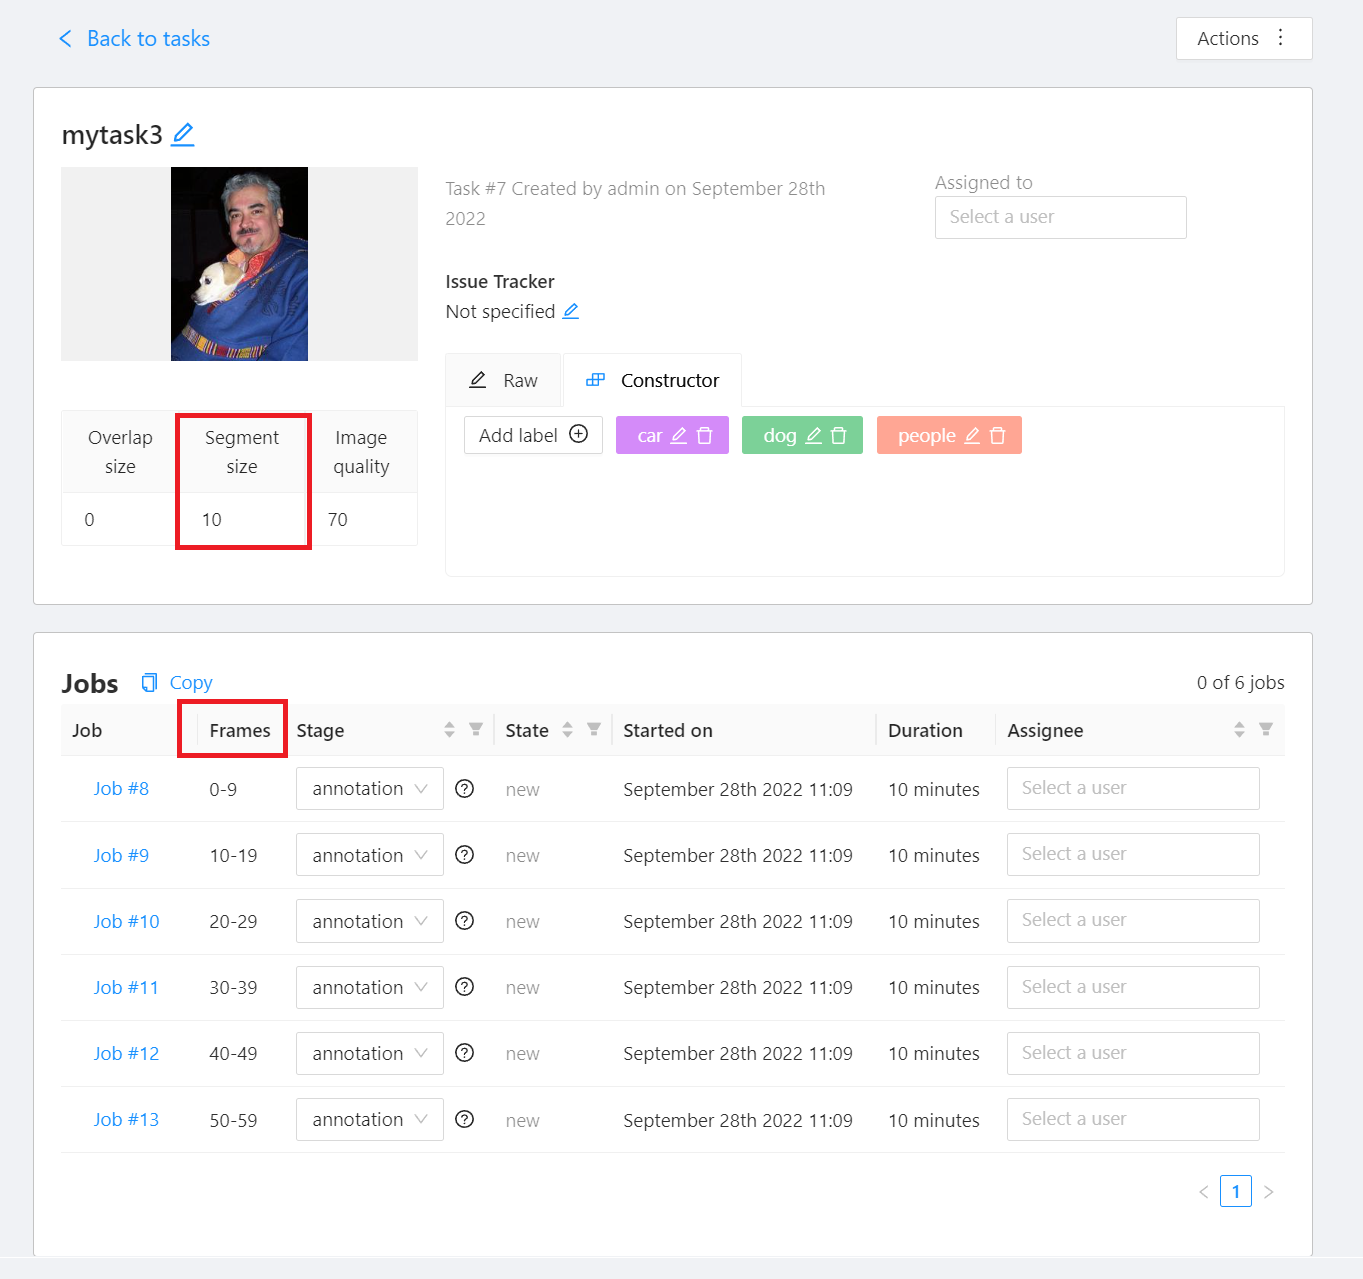
* Go back to the Tasks list of CVAT, click **+** and then click **+ Create a new task** to add a collaborative annotation task. For instructions on adding annotation tasks, please refer to [**AI Maker > Adding AnnotationTask**](/s/QFn7N5R-H#Adding-Annotation-Task). Please take special note that if there is a large amount of data to be cut to assign to different collaborators for annotation, the **Segment size** of the annotation Task should be set in the **Advanced configuration** on the CVAT **+ Create a new task** page, and the Task will be automatically created into different Jobs according to this set value to facilitate the assignment to different collaborators.
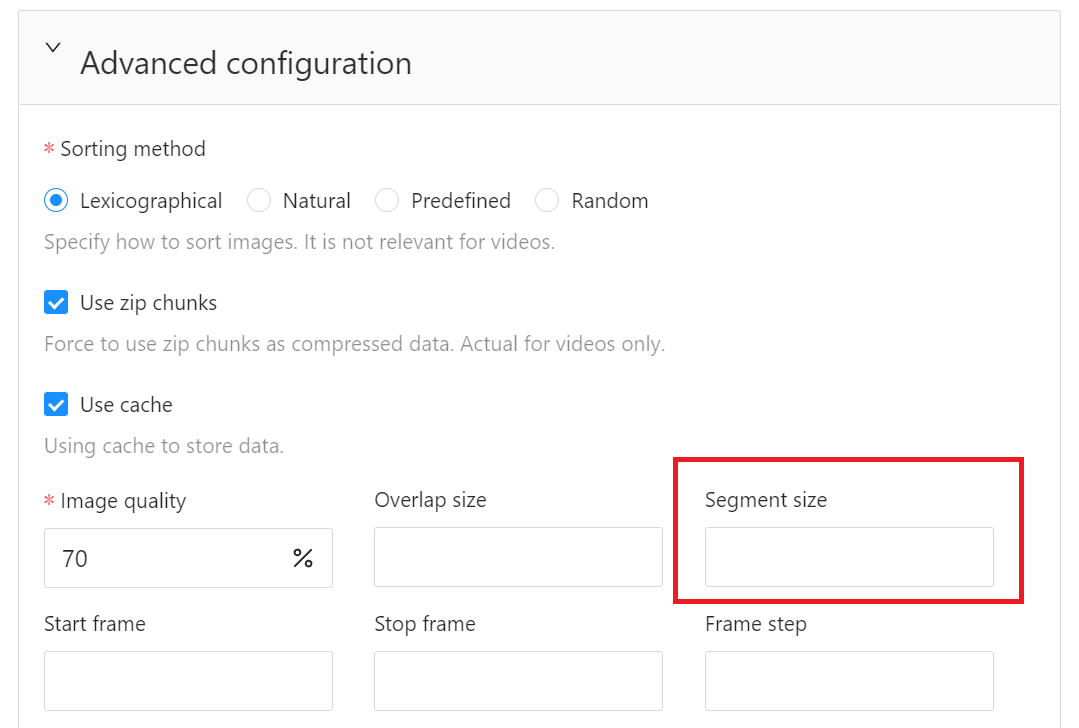
* For example, the **Segment size** in the figure below is set to 10. When creating a Task, the data set will be automatically divided into several Jobs according to the **Segment size** parameter value, and each Job contains 10 images.
### 4.2 Assign Annotation Jobs
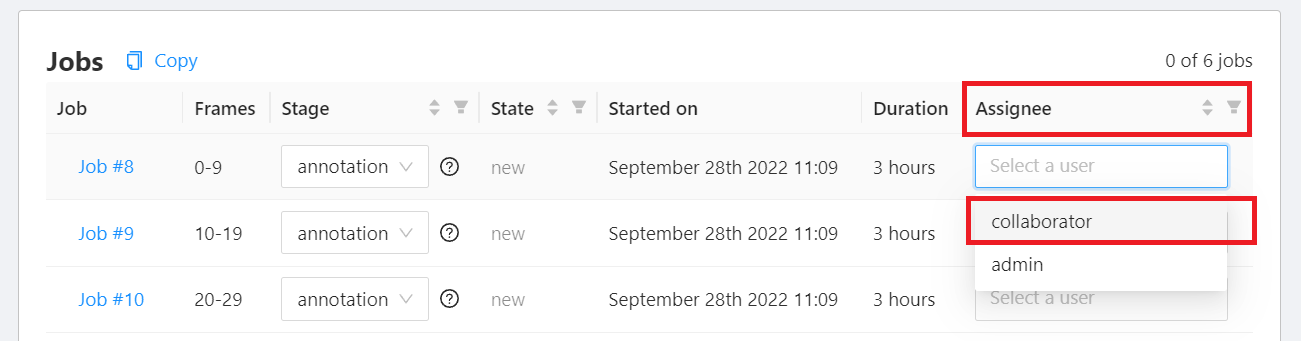
* Click the **Assignee** drop-down menu on the right side of the Job list, click the collaborator account to be assigned, and then assign the Job to the collaborator for annotation. In this example, select `collaborator`.
* After creating and assigning annotation tasks, you need to provide the project's CVAT URL and account information to your designated collaborators (not project members).
## 5. Collaborators Log in to CVAT to Do Annotation Work
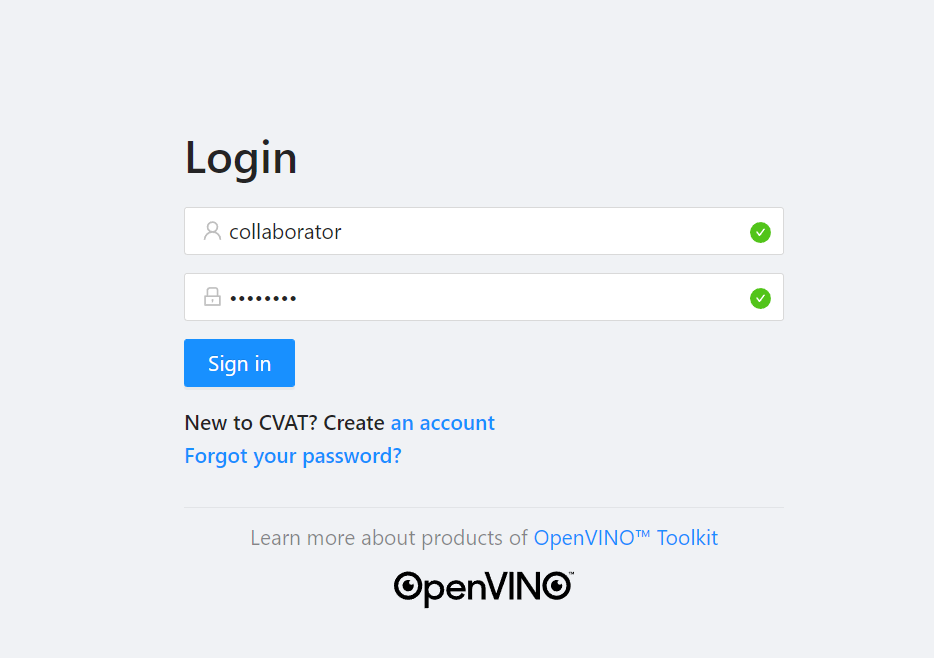
* Data annotation collaborators can log in to the CVAT platform after obtaining the project's CVAT URL and login information.
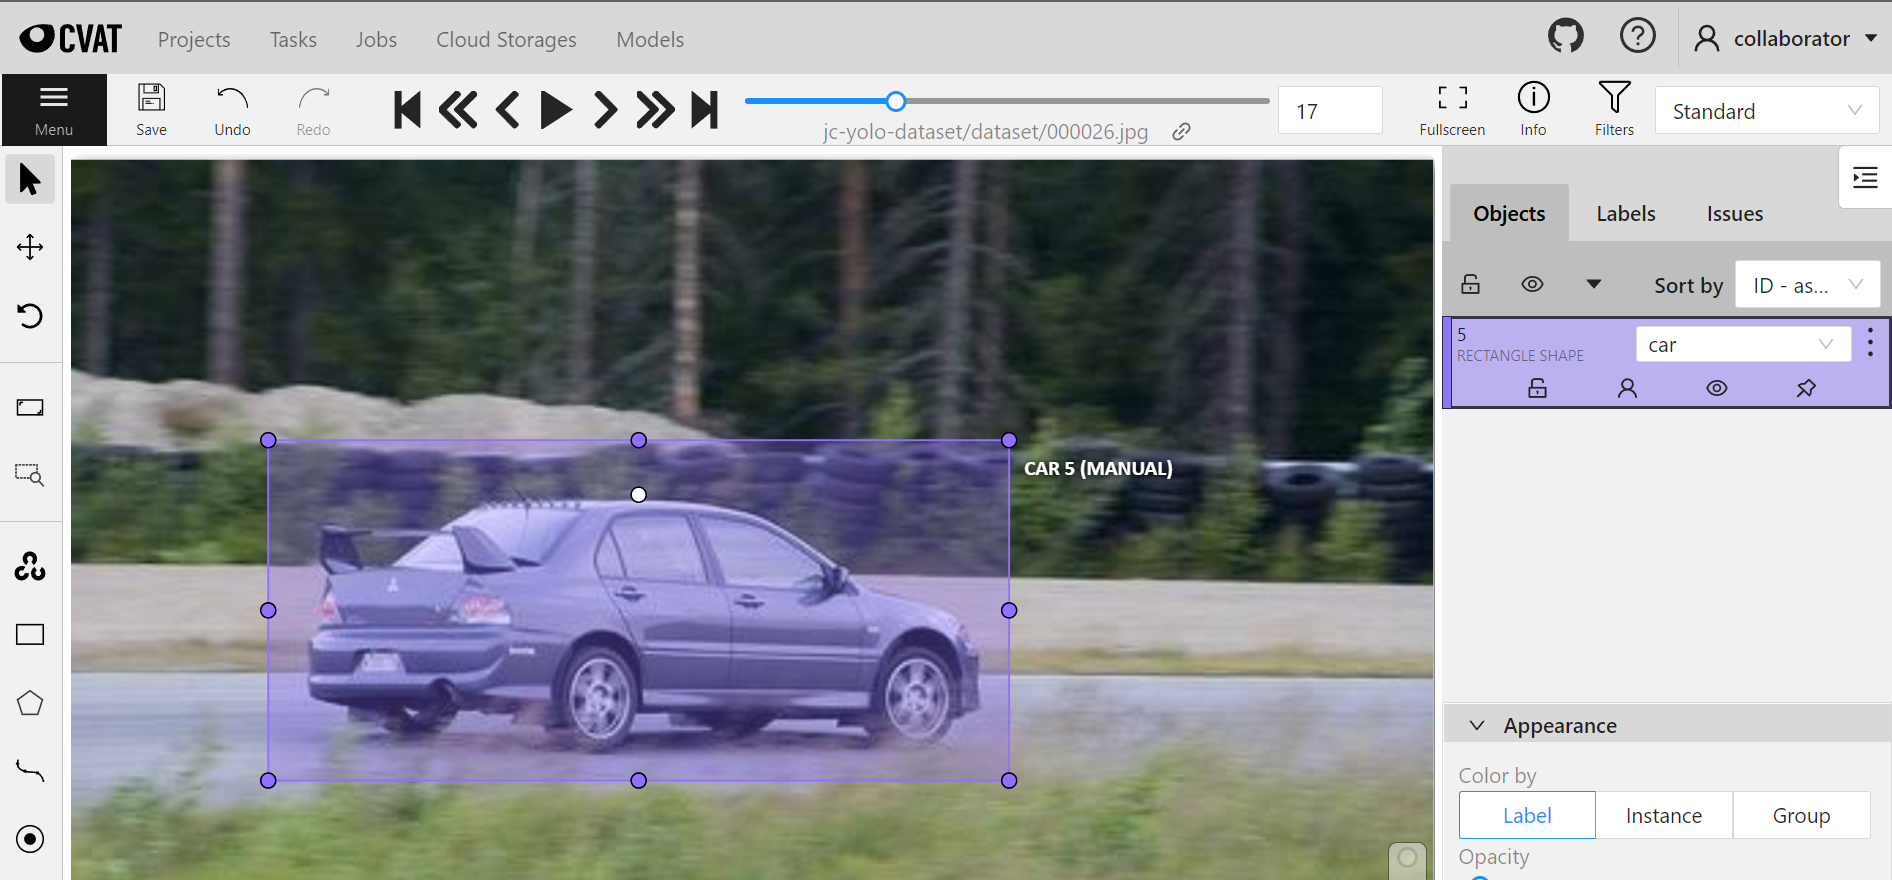
* After the collaborator successfully logs in to CVAT, click **Jobs** to see the assigned Job, click the Job to start annotation.

## 6. Advanced Account Operations
* The administrator can view the latest login history of each account from the **Admin page**, and can also disable the access permissions of a specific account after the collaboration has ended, and then enable the account again if needed.
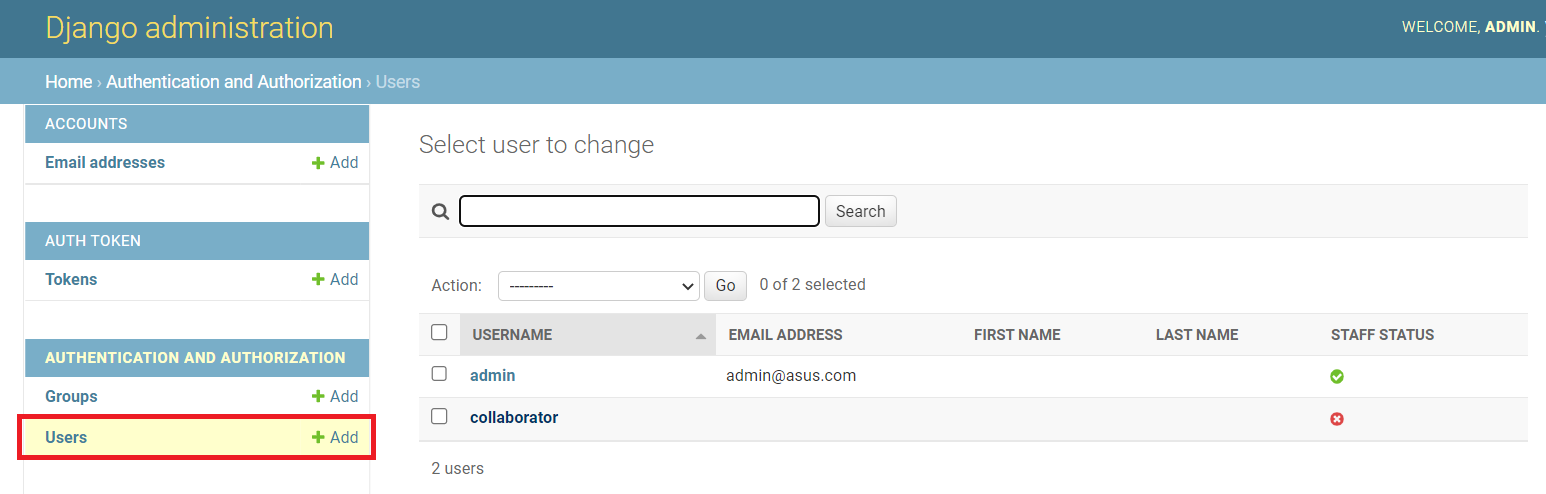
* Go to the **Admin page**, click **Users** in **AUTHENTICATION AND AUTHORIZATION** on the left to view a list of all accounts.
### 6.1 View the Latest Login History of the Account
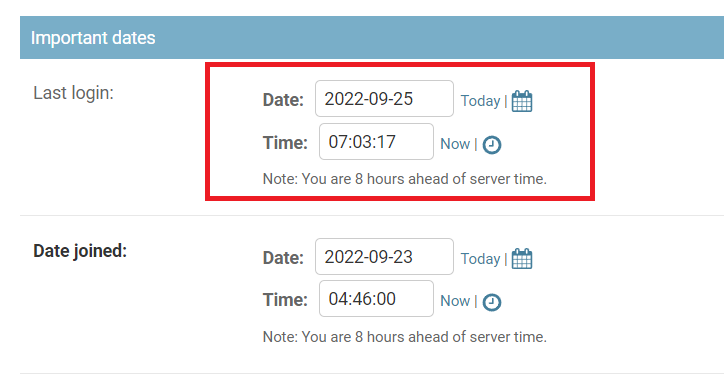
* Click on the account you want to view to enter the details page. In the **Important dates** section of the account details page, you can view the latest login history (Last login) of this account.
### 6.2 Account Deactivation
* In the **Permissions** section of the account details page, uncheck **Active** to disable access for this account.
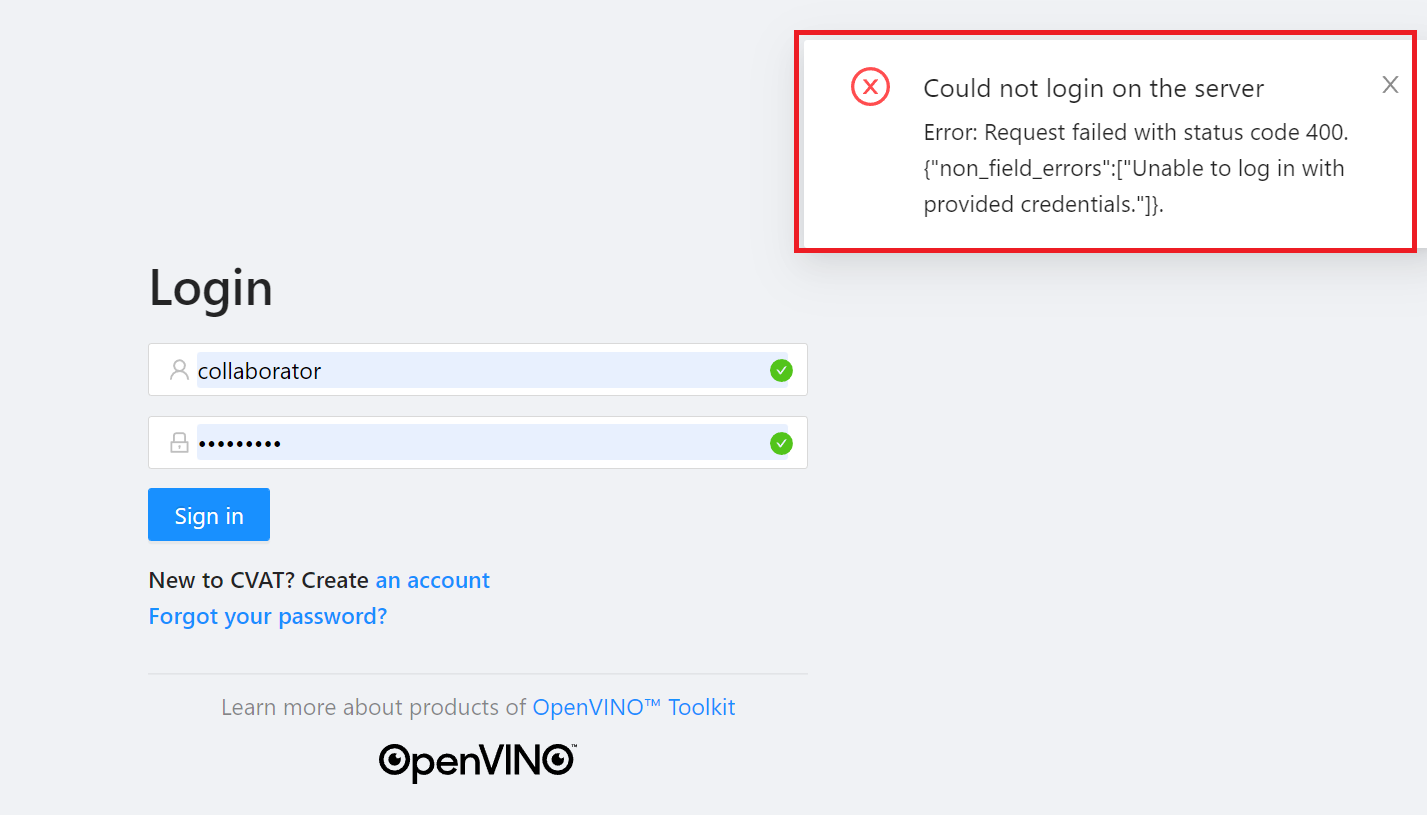
* Once the account is deactivated, this user account will not be able to access the CVAT platform.