---
title: Image Builder
description: OneAI Documentation
tags: EN
---
[OneAI Documentation](/s/user-guide-en)
# Image Builder
The Image Builder provides a simple operation interface, allowing you to install additional required tools or packages based on the public images provided by the system or the private images within the same project, and quickly generate custom image on the cloud. Newly built custom images are stored in the [**Container Image**](/s/container-image-en) for easy sharing and management with project members.
## Create Image Builder
Select **Image Builder** from the OneAI service list to enter the Image Builder Management page, then click **+ CREATE**.
:::info
:bulb: **Tips:** If you need to copy files to an image, please first upload the program or data you want to run to OneAI's [**Storage Service**](/s/storage-en).
:::
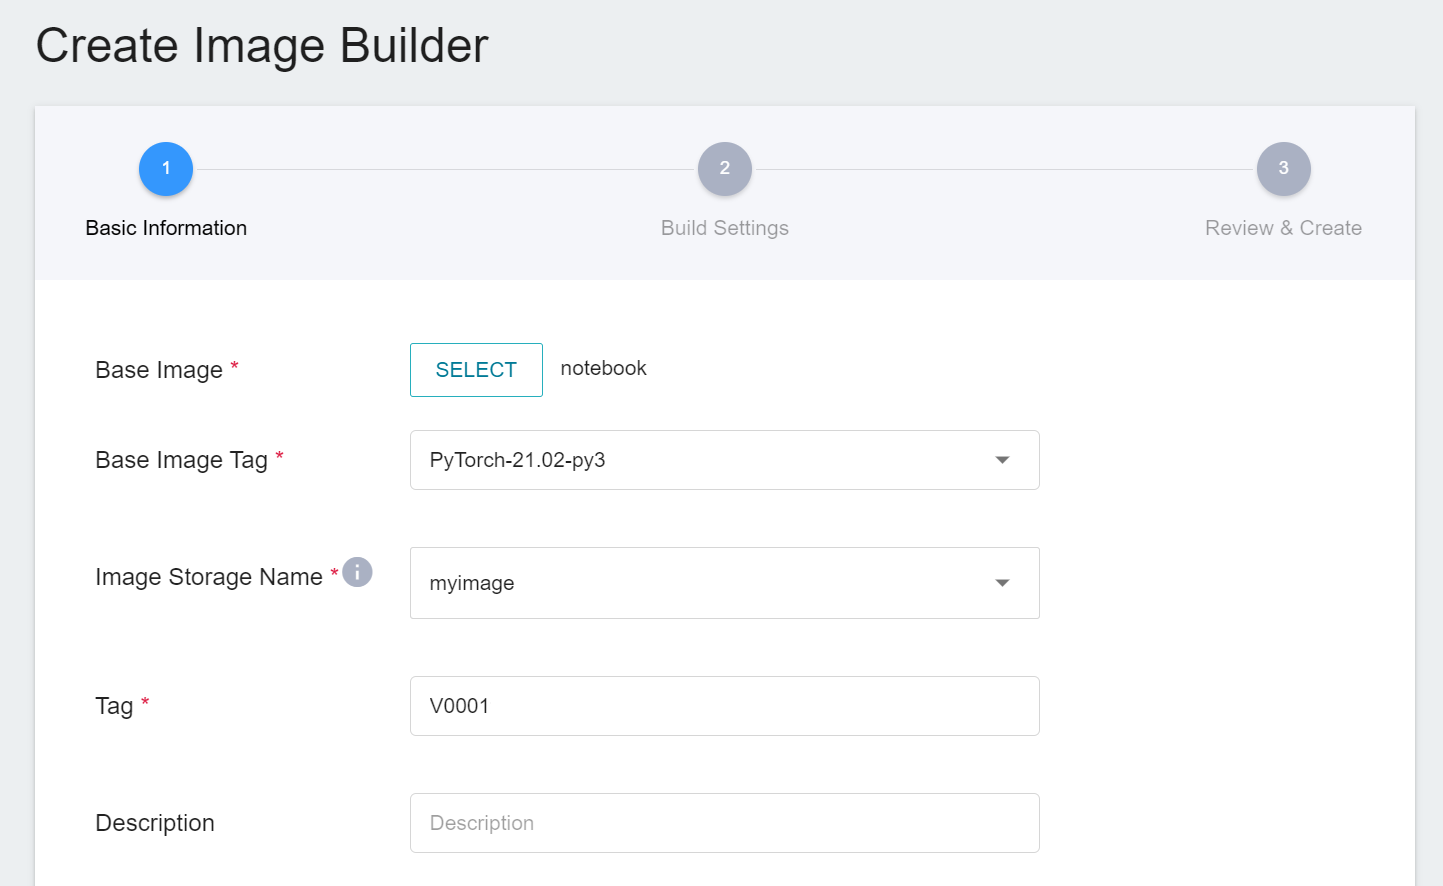
#### 1. Basic Information
* Enter the basic information for creating an Image Builder, then click **NEXT: BUILD SETTINGS >**.
- Base Image: Click **SELECT** to select a **Public** or **Private** image.
- Base Image Tag: Select the base image tag.
- Image Storage Name: Select or enter the image name to store.
- Tag: Enter the tag of the image you want to create. The tag cannot duplicate with existing tags.
- Description: Enter a description for the Image Builder for easier identification.
#### 2. Build Settings
* Go to the Image Builder's settings page and follow the instructions on the page.
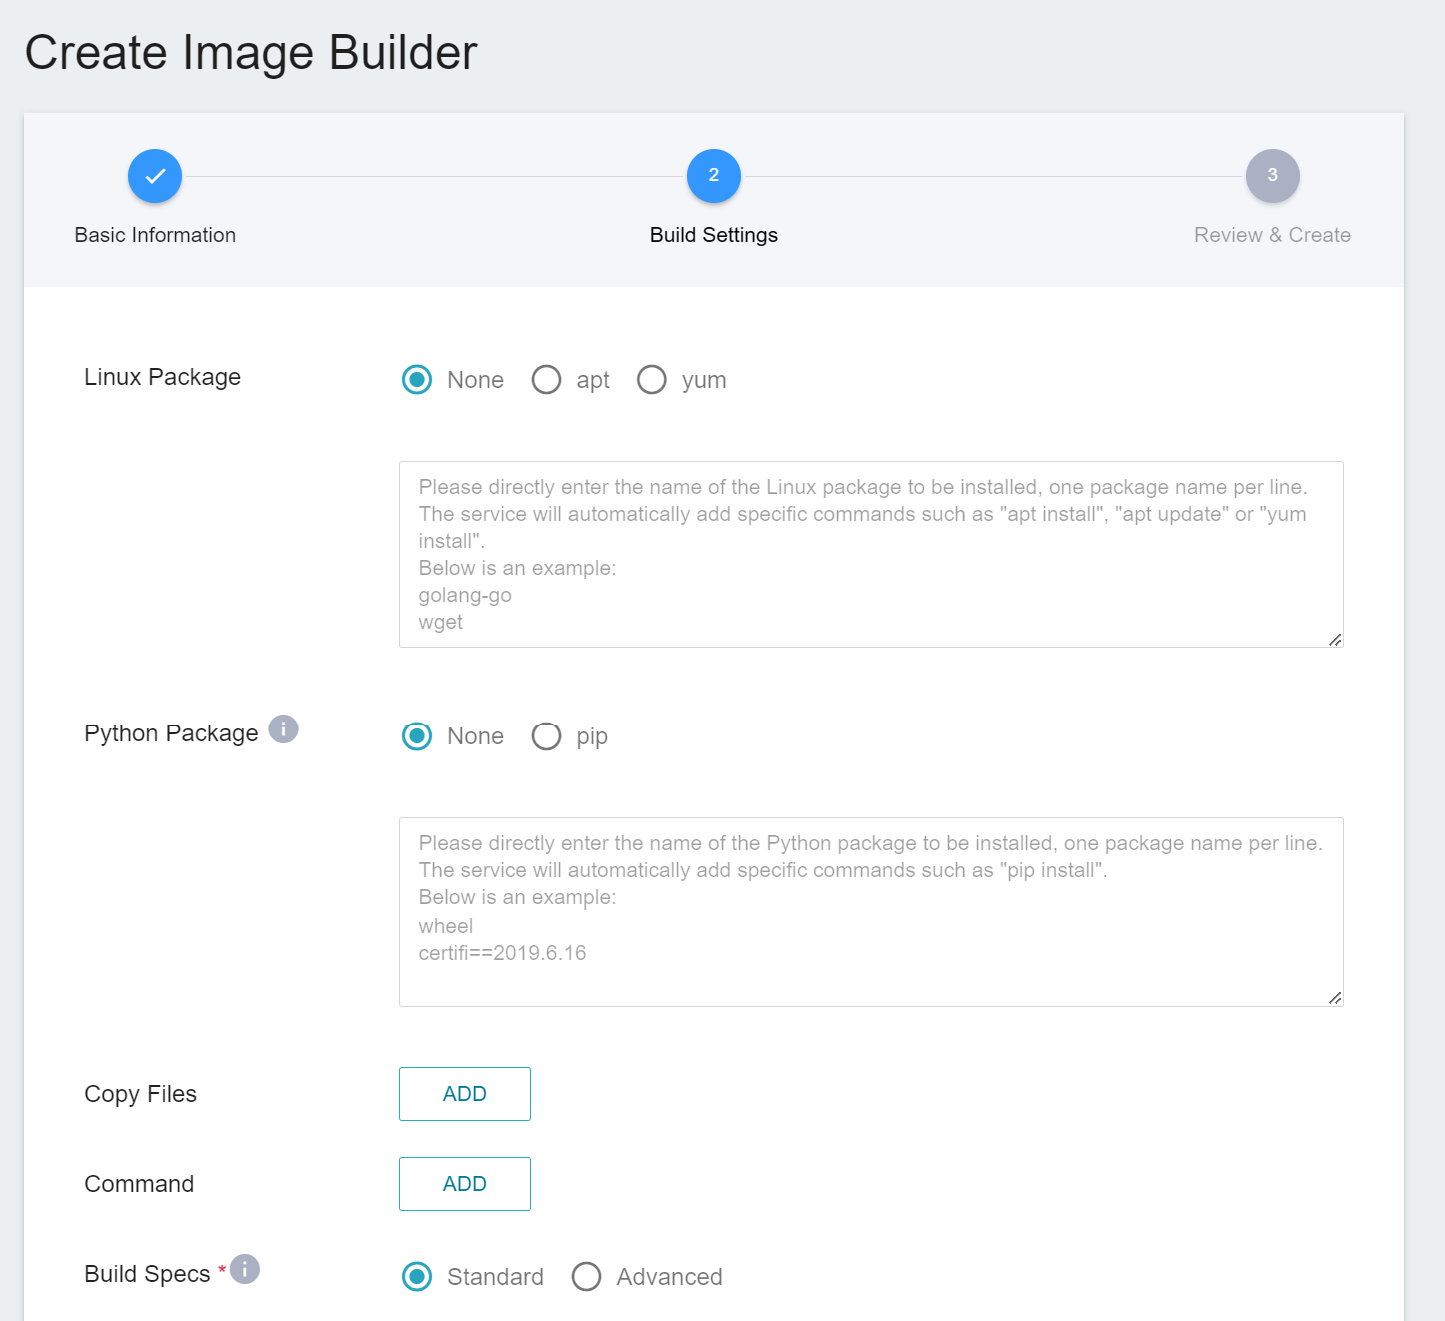
* Image Builder settings descriptions:
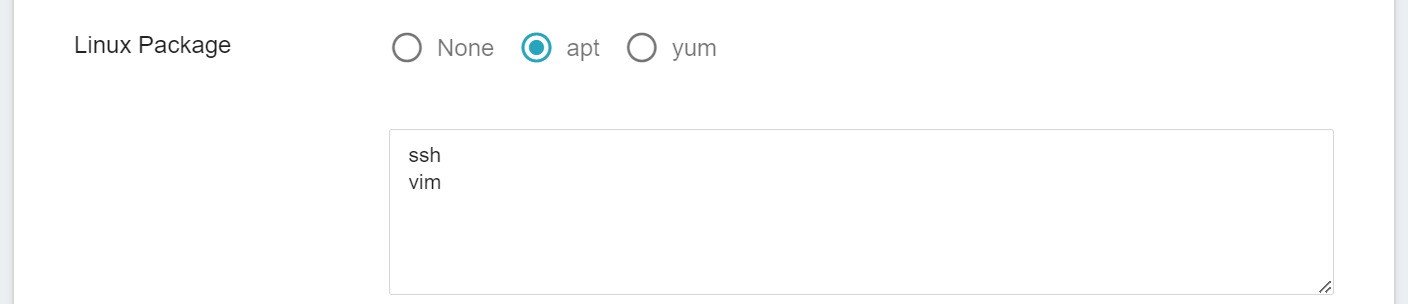
- **Linux Packages**: Select the package management tool apt or yum, and then enter the name of the Linux package, each package name is a separate line, as prompted on the screen: golang-go, wget. Image Builder will automatically complete specific commands such as : apt install, apt update or yum install.
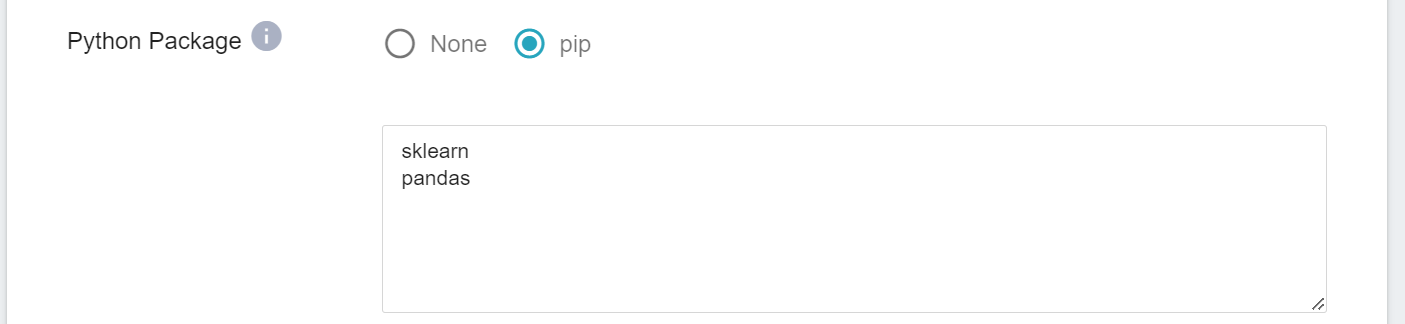
- **Python Packages**: Select the package management program pip, which currently supports python 3 version, then enter the name of the Python package to be installed, each package name is a separate line, as prompted on the screen: wheel, certifi==2019.6.16. The service will automatically complete certain commands such as: pip install.
- **Copy Files**: If you need to copy files to an image, please first upload the program to be executed or data to OneAI's [**Storage Service**](/s/storage-en). Click **ADD** to set the file or directory to be copied. Currently, only one set can be added.
* Source Path: Select the bucket of the storage service, or click the bucket list to select a directory or file in the bucket.
* Destination Path: Specify target path for storing the files.

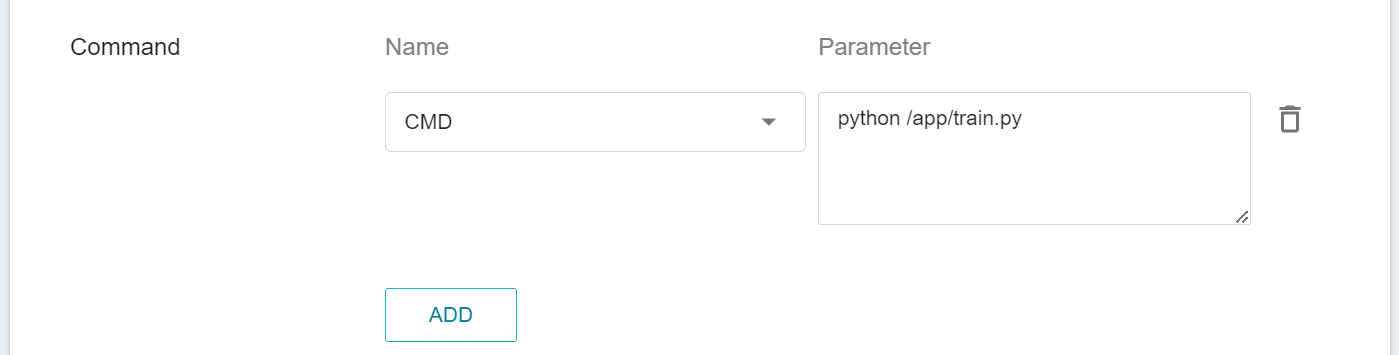
- **Command**: Click **ADD** to add a new command and parameter setting. The supported commands are as follows, and up to 15 sets of commands can be set.
* RUN: The command executed when the image is built. If the command exceeds one line, a newline character (\\) needs to be added at the end of the previous line. See [RUN command information](https://docs.docker.com/engine/reference/builder/#run) for reference.
* CMD: The command to be executed after the container is started. If there are multiple CMDs, only the last one will be executed.See [CMD command information](https://docs.docker.com/engine/reference/builder/#cmd) for reference.
* USER: User permissions.See [USER command information](https://docs.docker.com/engine/reference/builder/#user) for reference.
* WORKDIR: Working directory.See [WORKDIR command information](https://docs.docker.com/engine/reference/builder/#workdir) for reference.
* ENV: System environment variables.See [ENV command information](https://docs.docker.com/engine/reference/builder/#env) for reference.
- **Build Specifications**: Select the hardware environment specifications for creating the Image Builder. Select **Standard** to enable a hardware environment that uses the CPU specification, and **Advanced** to enable a GPU compilation environment to support special production needs for recompiling source code.
#### 3. Review & Create
* Check the creation information of the Image Builder, and then click **CREATE**.
## Image Builder Management
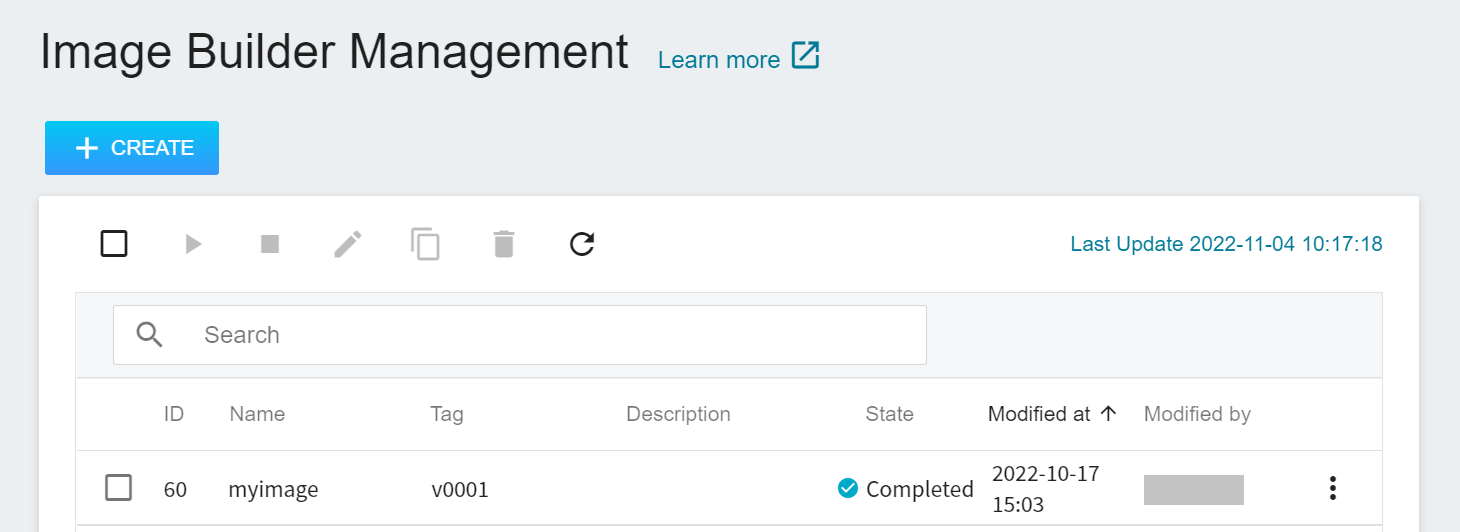
* After the Image Builder is successfully created, it will appear at the top of the list, and the state will be displayed as **`Queuing`**. Click the Image Builder you want to view in the list to view the details.

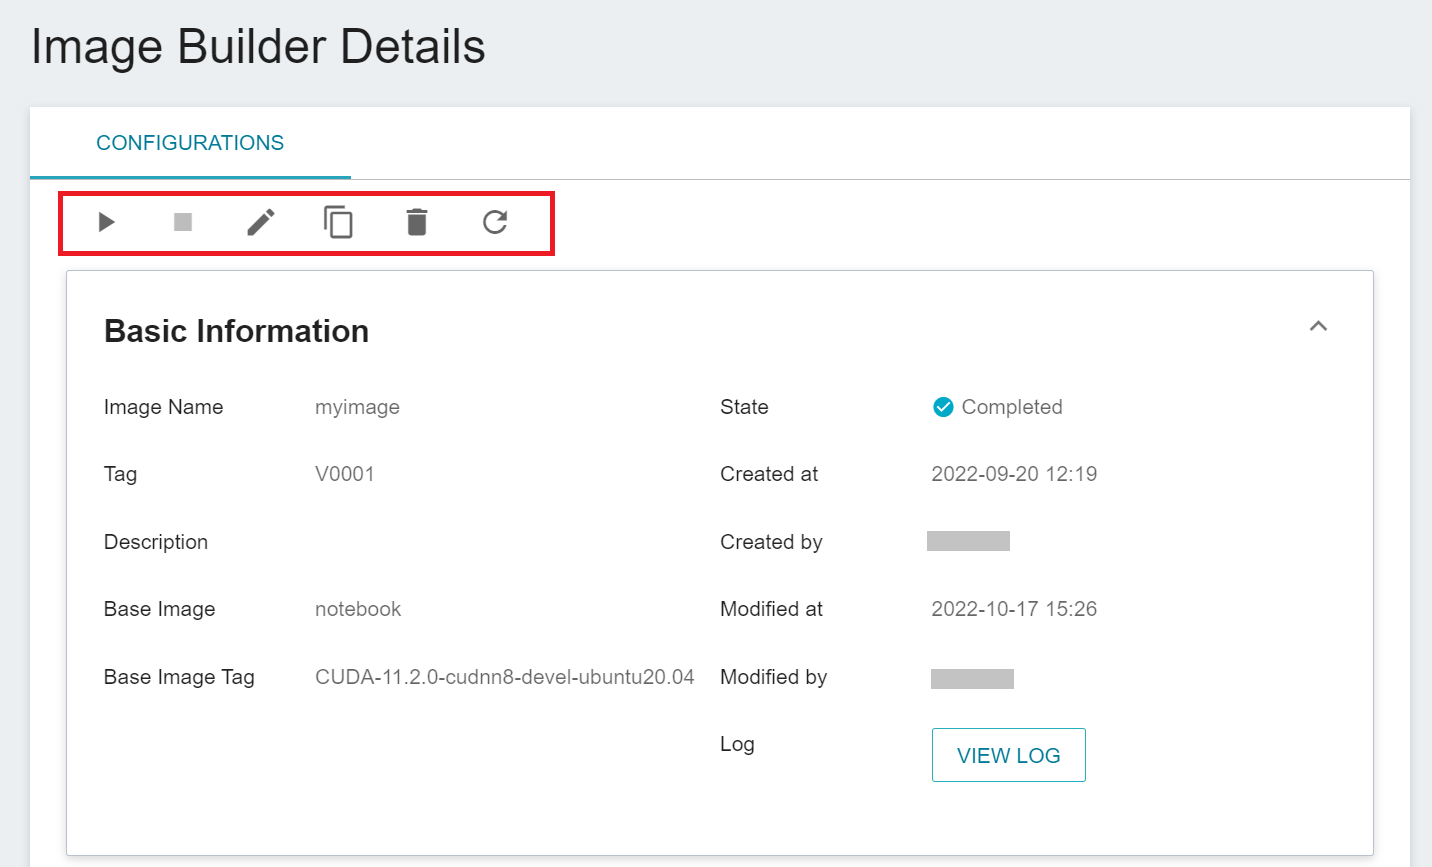
* Enter the Image Builder Details page to view the settings information of the Image Builder. You can perform operations such as **Start**, **Stop**, **Edit**, **Copy**, **Delete** and **Refresh** through icons on the command bar above. Below are the descriptions of the operations:
* **Start**: Start the Image Builder. If the Image Builder status is **```Queuing```** or **```Running```**, this button will be grayed out.
* **Stop**: If the Image Builder has been running for too long, you can stop it first to release system resources, and then run **Start** again, but be aware that you may encounter insufficient resources when you start again.
* **Edit**: Modify the settings of the Image Builder. The steps are similar to those of creating Image Builder. After editing, the service will automatically restart. For more information, see [**Edit Image Builder**](#Edit-Image-Builder).
* **Copy**: Copy the Image Builder settings for quick modification, the steps are the same as when creating.
* **Delete**: If the service is not needed, click **DELETE** to delete the Image Builder permanently to save resources. Once deleted, the Image Builder will disappear from the list.
* **Refresh**: Instantly update the latest status and information displayed on the screen.
:::info
:bulb: **Tips:** Please refer to [**Service State Description**](/s/service-state-en#Image-Builder).
:::
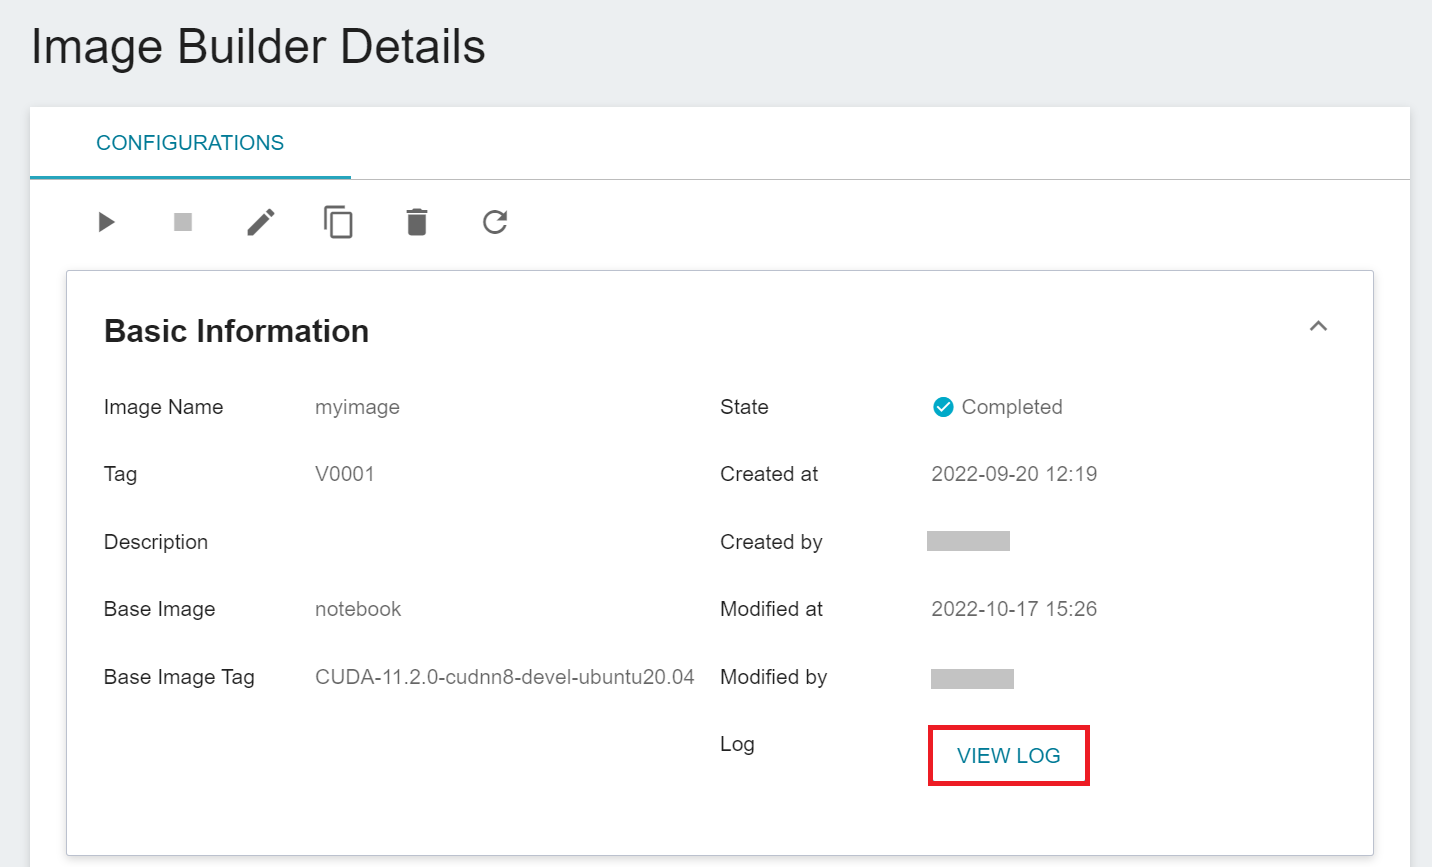
### View Log
* Click **VIEW LOG** to view the log of the Image Builder.
:::info
:bulb: **Tips:** It is recommended to click **VIEW LOG** to check whether the information in the log is abnormal; if the Image Builder creation is unsuccessful, you can determine possible causes according to the log information.
:::
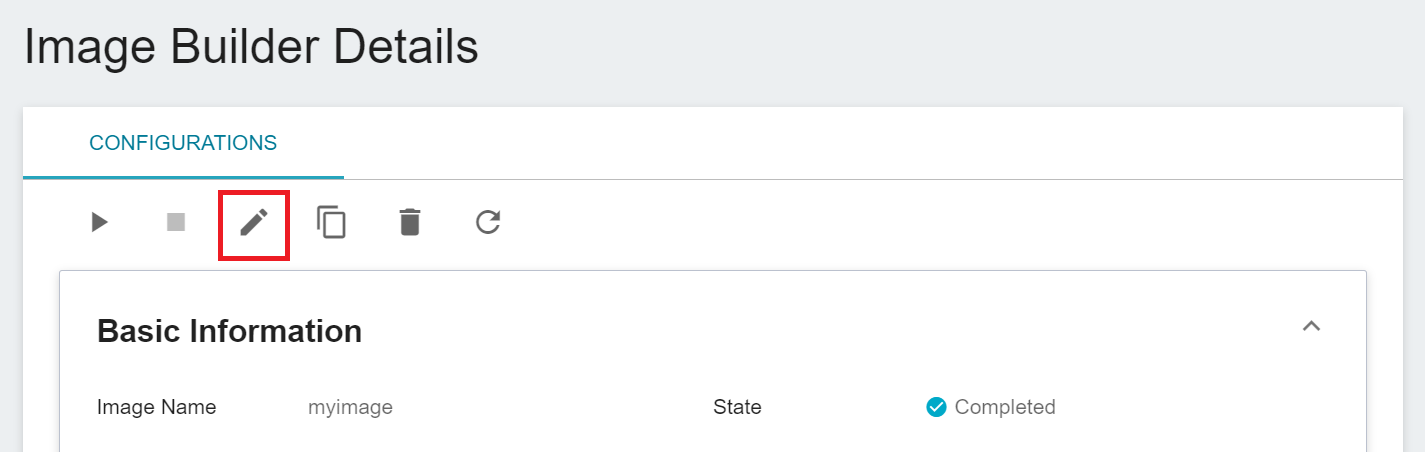
### Edit Image Builder
* After the image is built, the settings of the Image Builder can be modified as needed, such as adding other tools or packages, or modifying the version of the program to be executed, and then a new image can be built again.
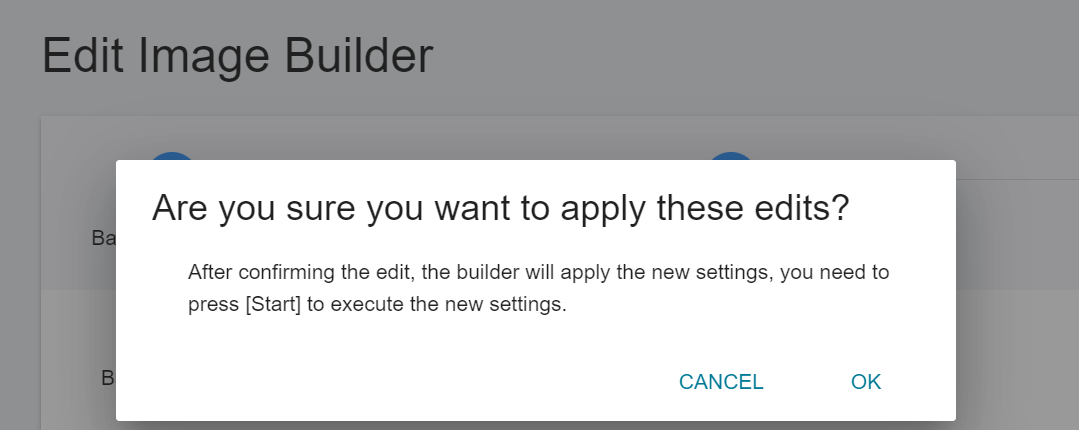
* Go to the Image Builder details page, click the **Edit** icon on the command bar above to edit the Image Builder creation settings. The operation steps are similar to steps when creating. After editing, the builder will apply the new settings. Please click the **Start** icon in the command bar above to apply the new settings.
## Use Container Image
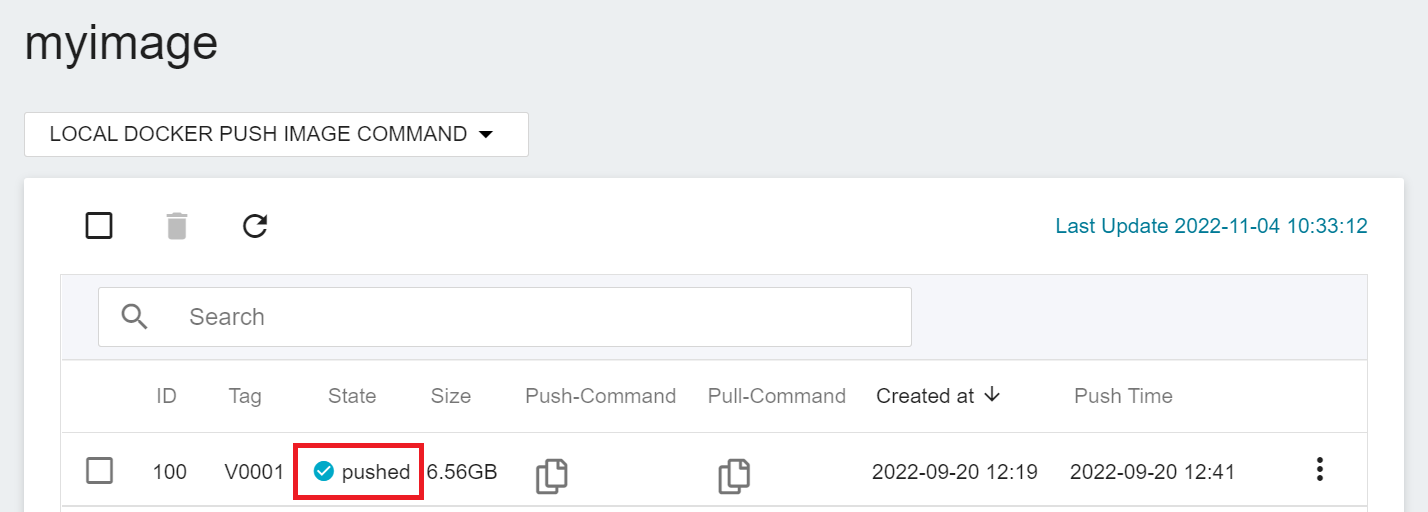
* When the status of the Image Builder changes to **```Completed```**, it means that the image has been created, and the newly-built custom image will be stored in Container Image for management.
* Select **Container Image** from the OneAI service list, go to the Container Image Management page, and then go to the image tab page created by the Image Builder. Make sure the status of this image is **```pushed```** to use the image in other container-related services, see [**Use Container Image**](/s/container-image-en#Use-Container-Image).
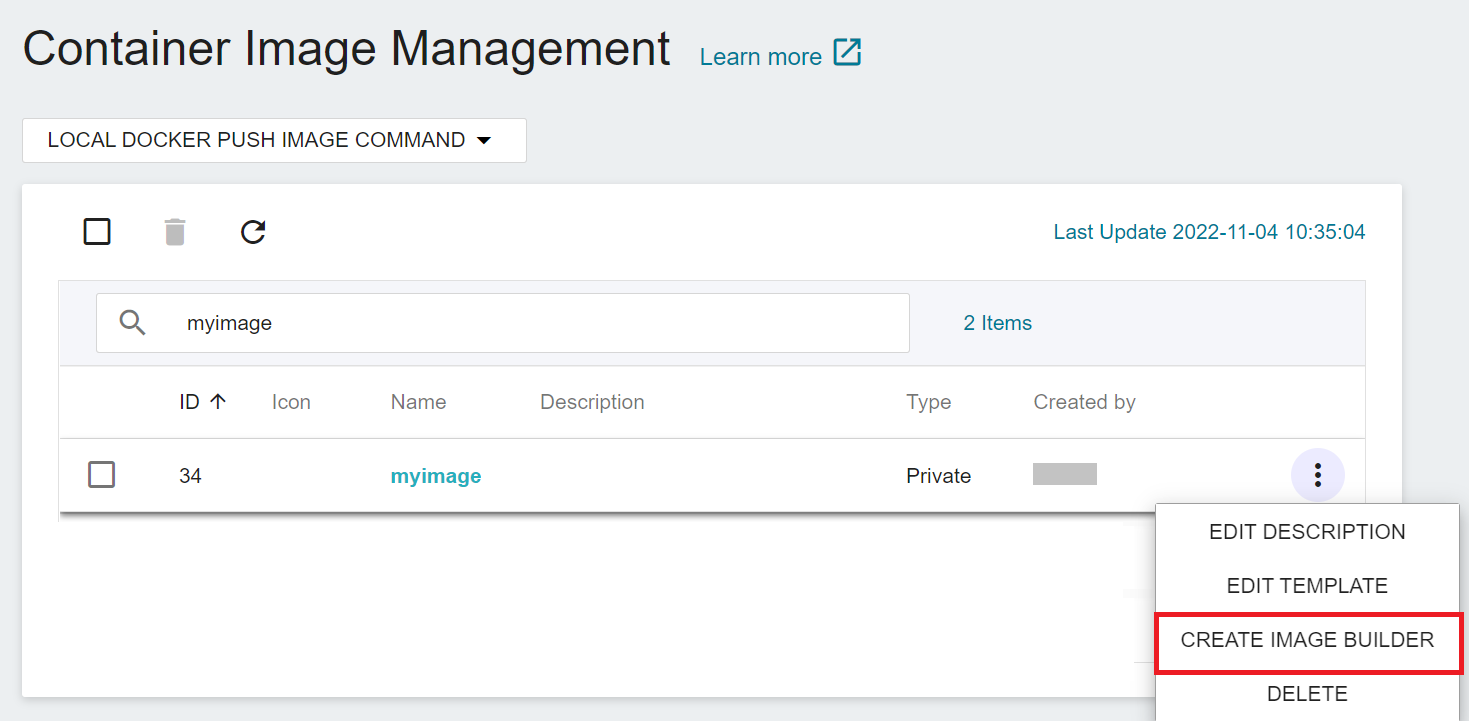
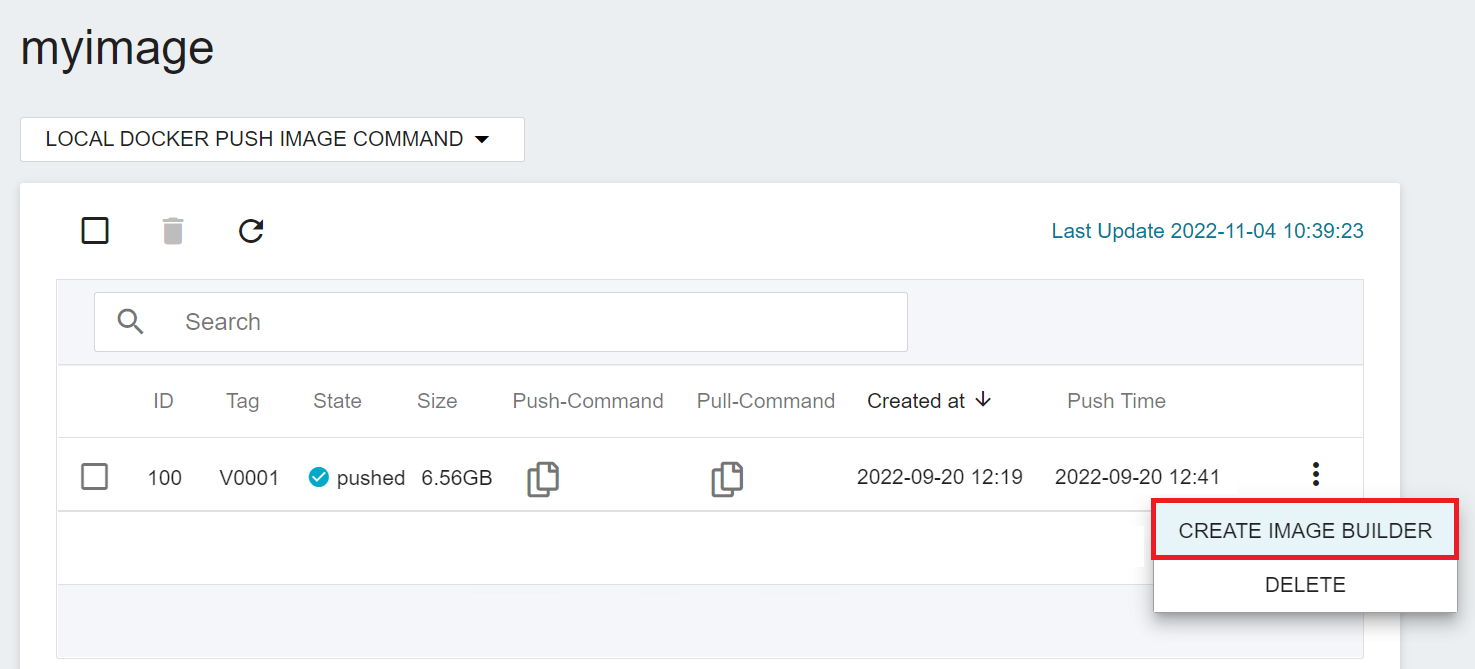
## Create Image Builder from Container Image
* In addition to creating Container Image from **Image Builder**, you can also create them from the Container Image Management page or its Tag Management list page in **Container Image**. The system will bring the image information you selected into the Image Builder's build settings, and the following steps are the same as above.
## Resource Monitor
See the [**Resource Monitor**](/s/resource-monitor-en) documentation.