---
title: Storage Service
description: OneAI Documentation
tags: EN
---
[OneAI Documentation](/s/user-guide-en)
# Storage Service
Storage Service provides safe and reliable storage compatible with Amazon S3, allowing you to store massive data in the cloud and share data between OneAI's services or with other project members.
## Bucket Management
### Create a Bucket
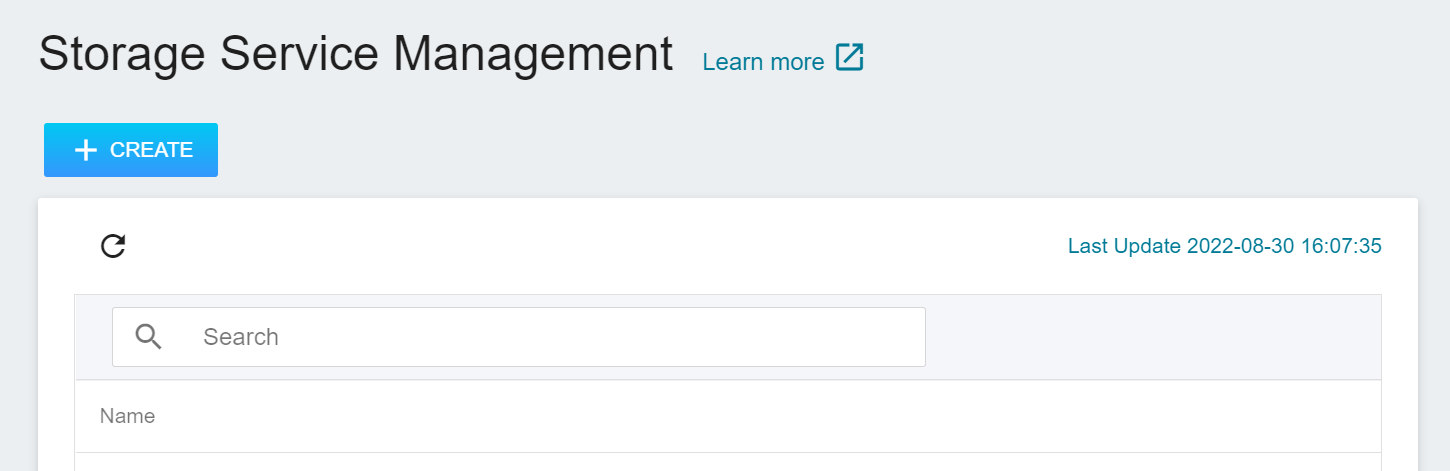
* Select **Storage Service** from the OneAI to enter the **Storage Service Management** page, then click **+ CREATE**.
* Enter the name of the bucket and press **OK**.

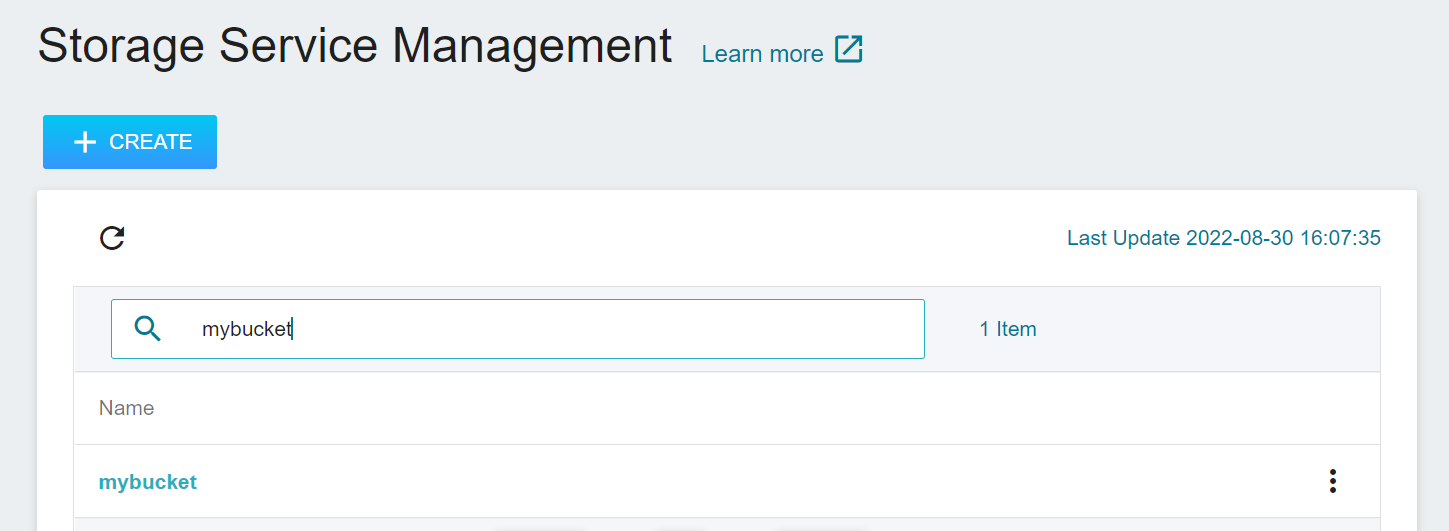
* After the bucket is created, it will appear on the list of the **Storage Service Management** page. Click the bucket you want to use in the bucket list to enter the bucket's content page to start using it.
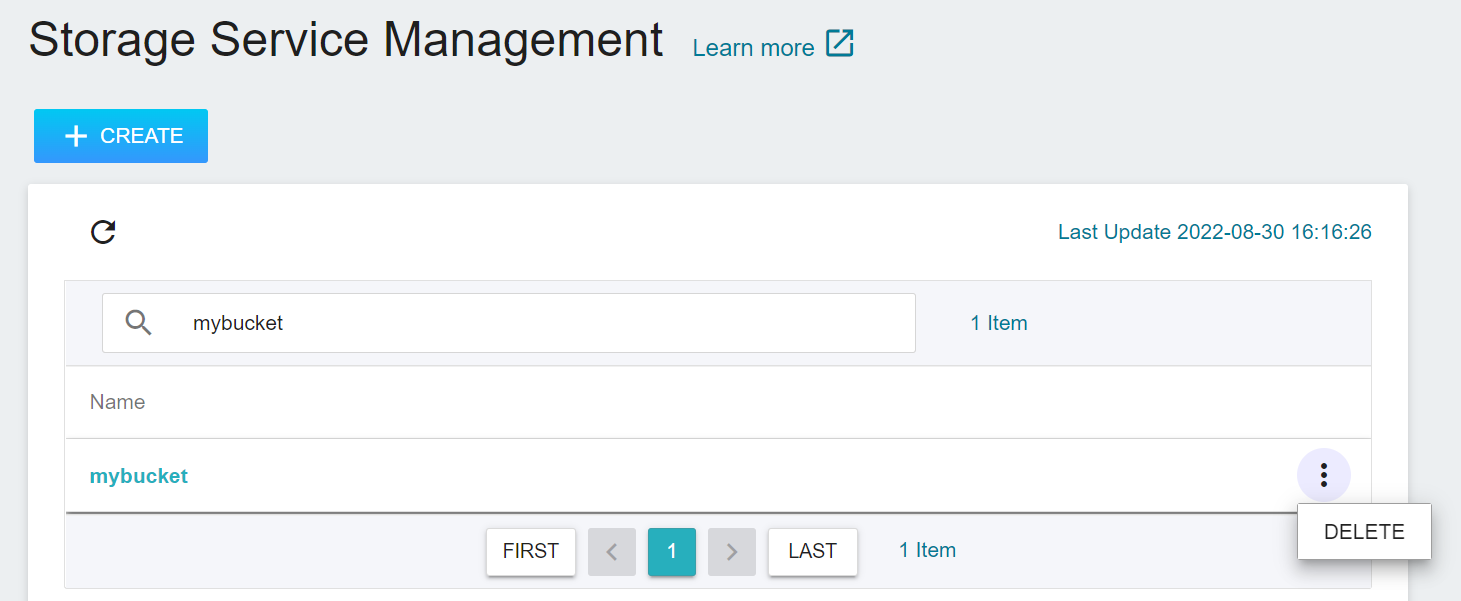
### Delete a Bucket
* At the end of the bucket row, move the mouse to the More Options icon and click **DELETE**.
:::warning
:warning: **Note**: Once the bucket is deleted, all the data in the bucket will be deleted and cannot be recovered. Please be aware that the bucket in the project is shared by all members, any modification or deletion may affect the users in the group.
:::
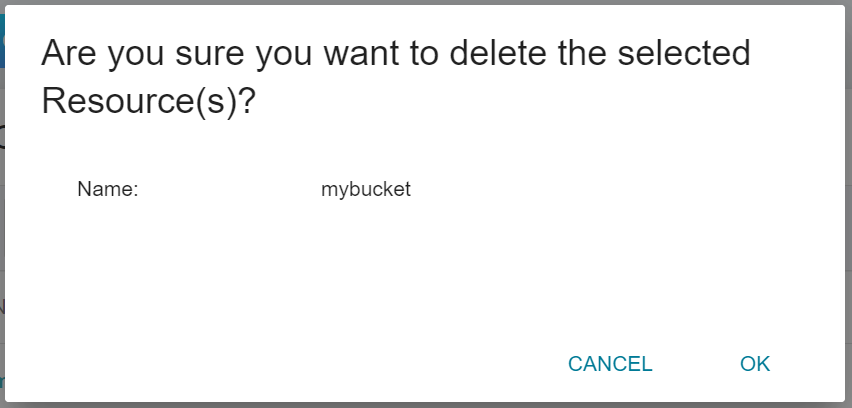
* Confirm the name of the bucket to be deleted and click **OK**.
## File Management
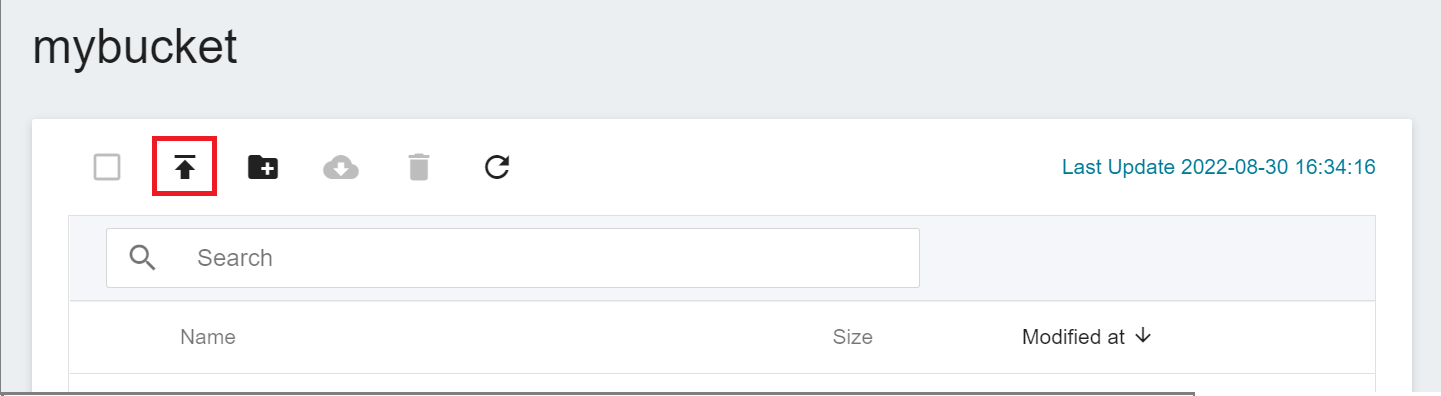
### Upload Files
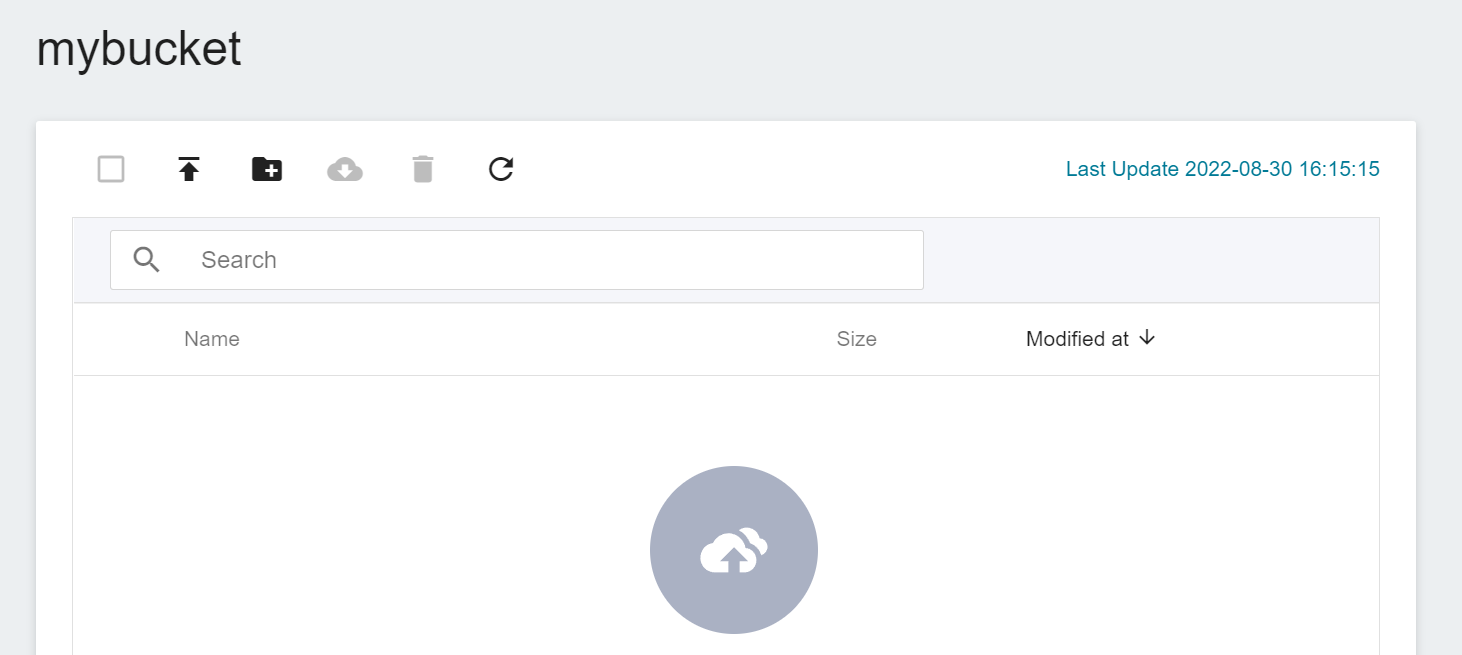
* Go to the bucket's content page and click the **Upload** icon in the command bar above.
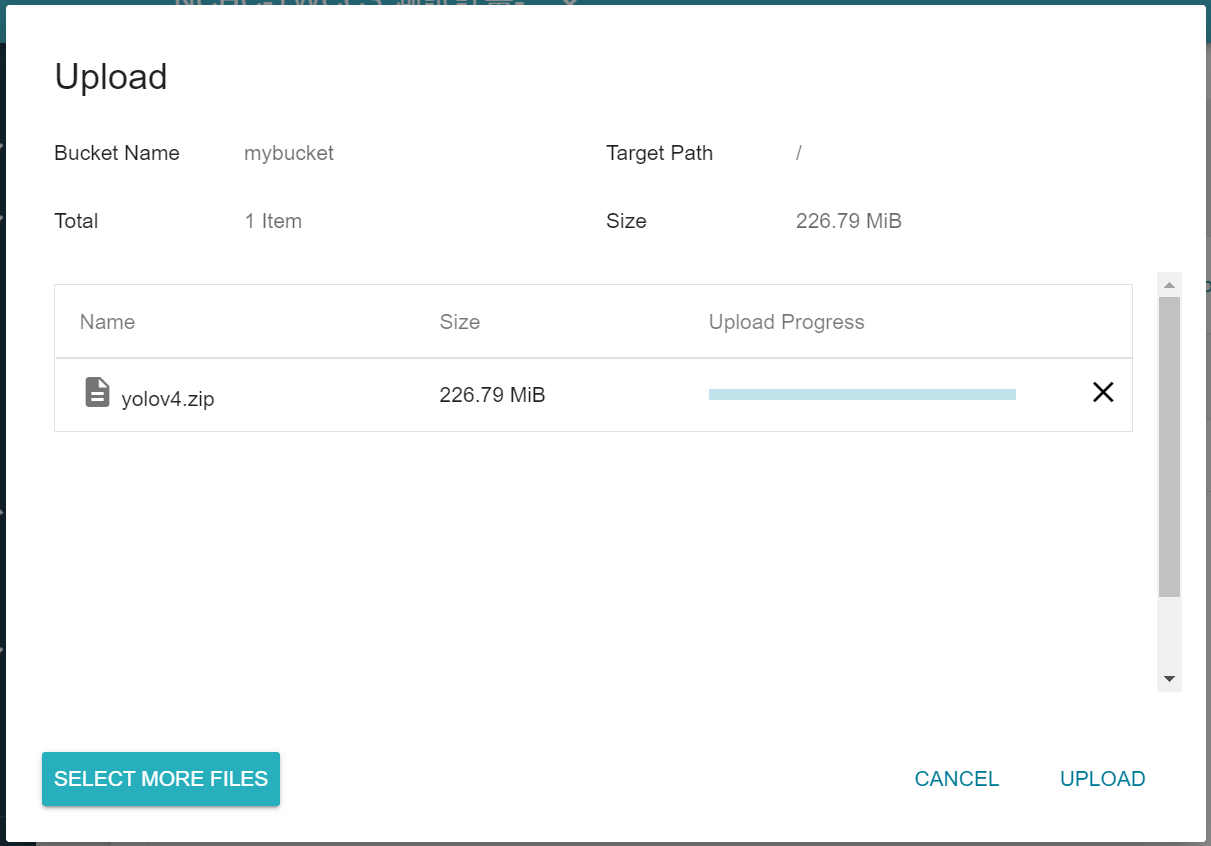
* Within the **Upload** window, you can directly drag file(s) or folder(s) to the window or click **Select Files** to select the file(s) or folder(s) you want to upload, and then click **UPLOAD** after selection.
:::info
:bulb:**Tips:** If you want to upload large files or multiple files, you can use third-party software such as [**S3 Browser**](http://s3browser.com/) or [**Cyberduck**](https://cyberduck.io/).
:::
### Create a Folder
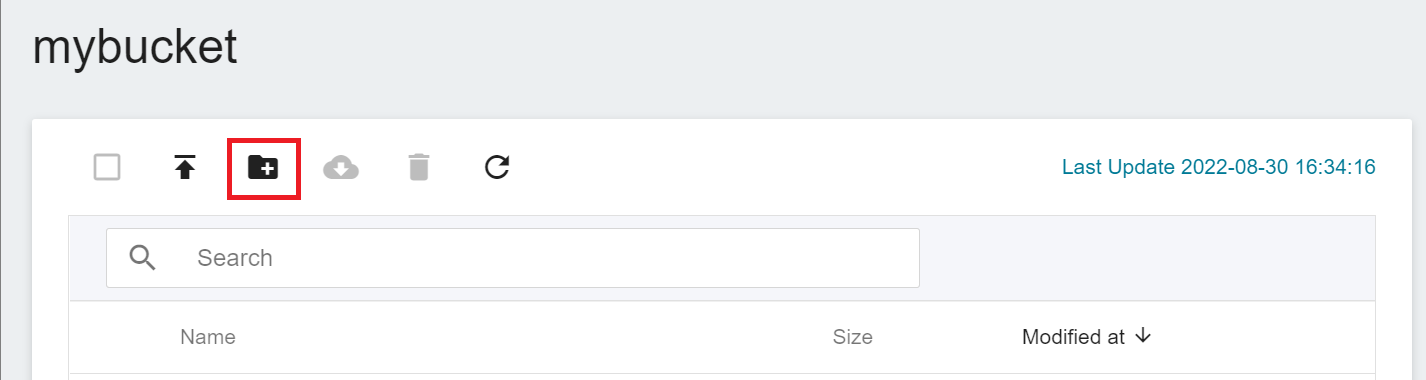
* In the bucket's content list, click the **Create Folder** icon in the command bar above.
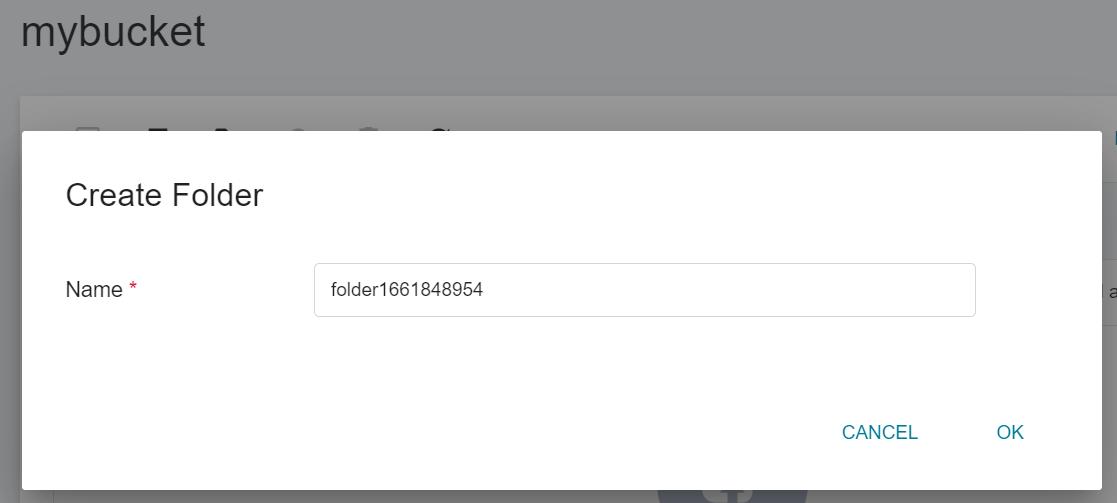
* Enter the name of the folder and click **OK**.
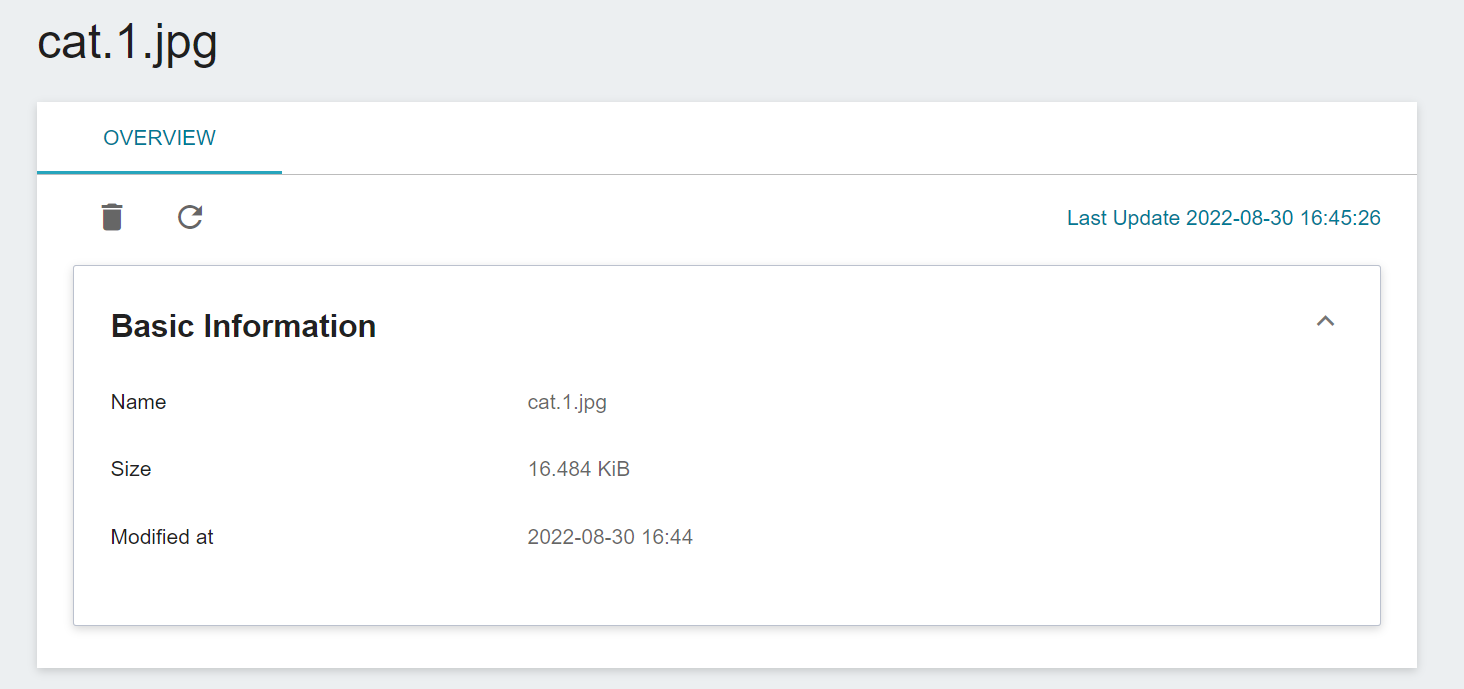
### View the Information of a File
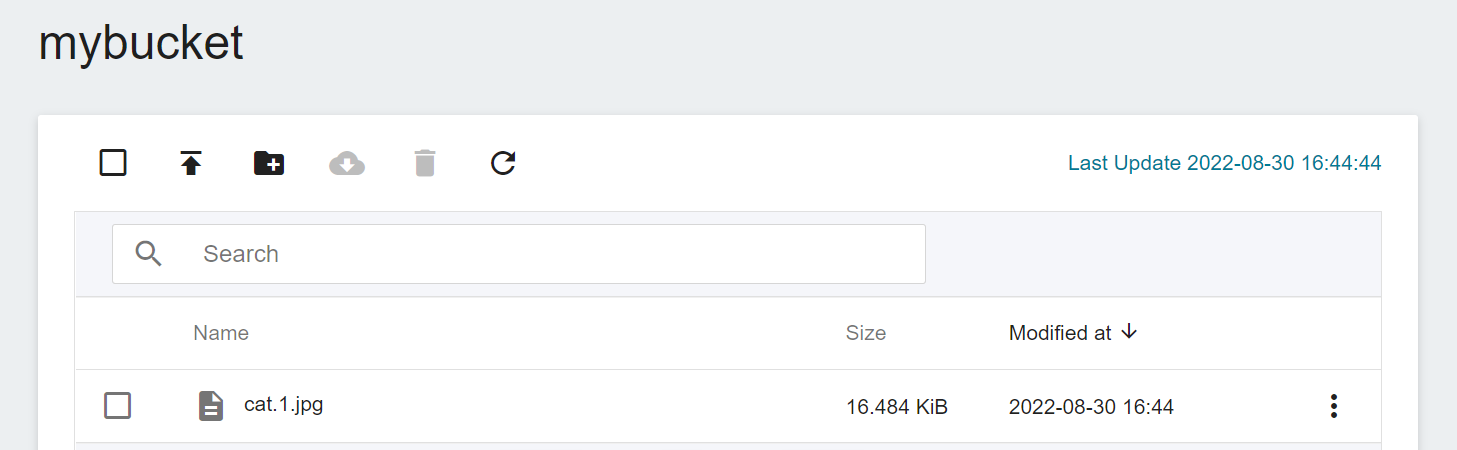
* Click the file you want to view in the file list to view the file's information.
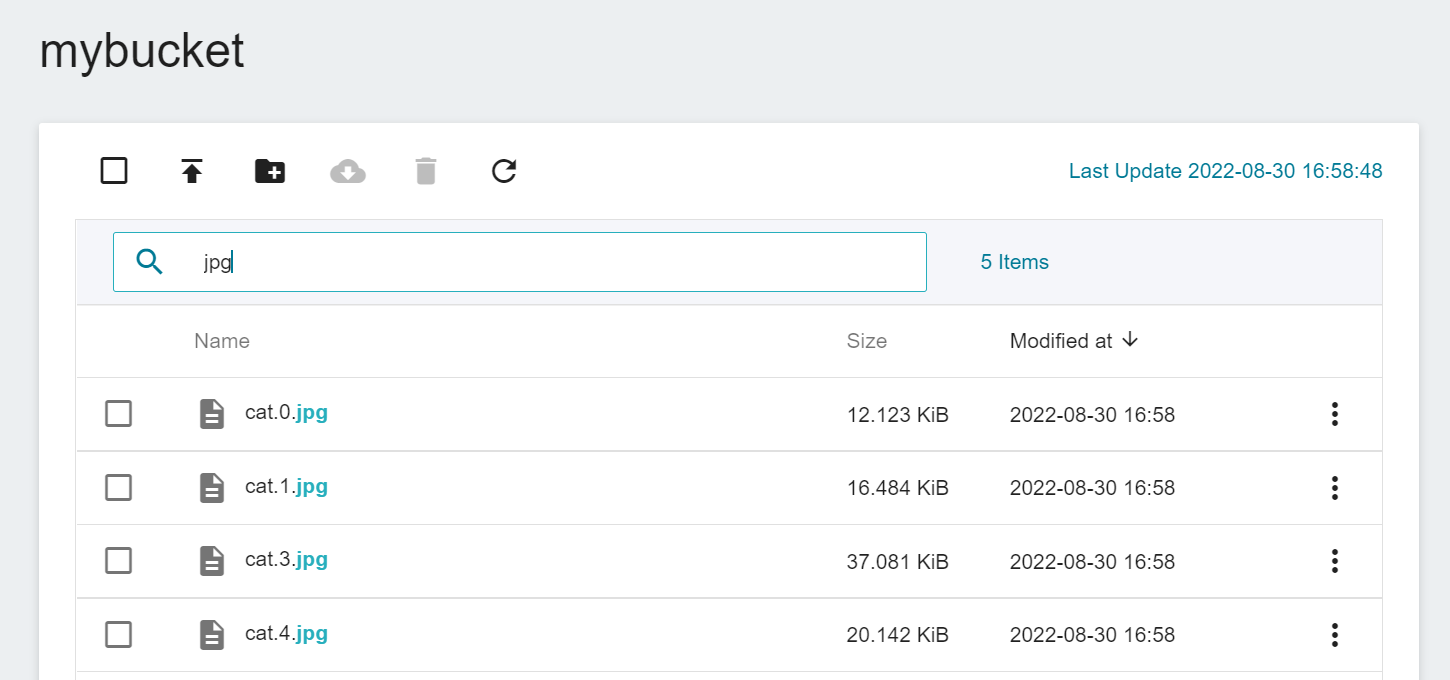
### Search Files
* Enter the keyword you want to search in the search box to filter out the files that match your criteria.
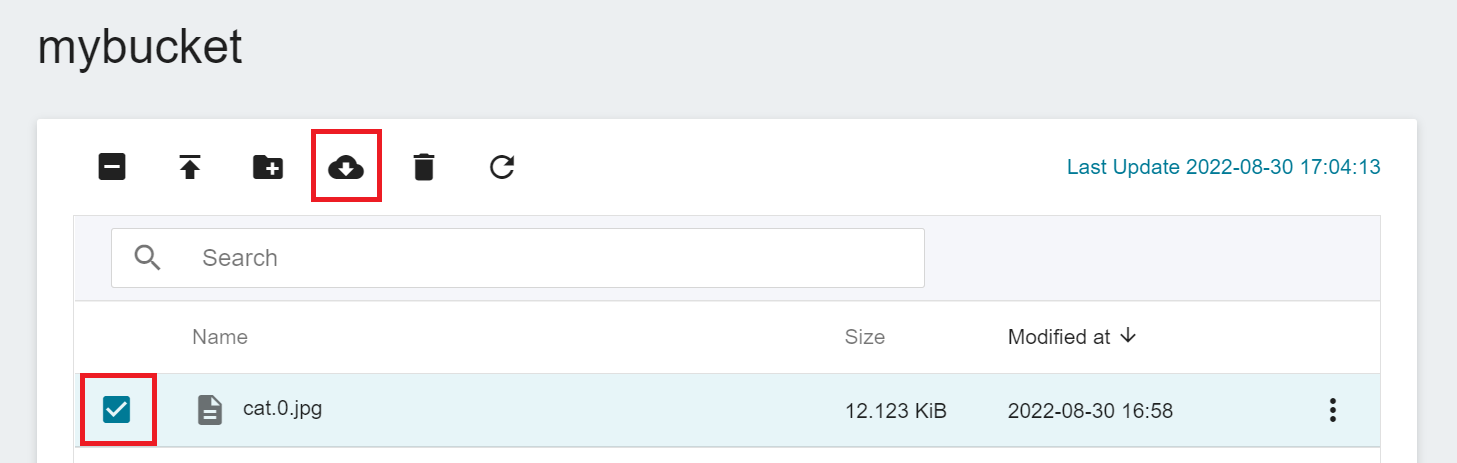
### Download a File
* Select the file you want to download in the bucket content list and then click the **Download** icon in the command bar above.
:::info
:bulb:**Tip: Restrictions on Downloading Files**
Currently, only one file can be downloaded at a time. If you want to download multiple files at a time, you can use third-party softwares such as [**S3 Browser**](http://s3browser.com/) or [**Cyberduck**](https://cyberduck.io/).
:::
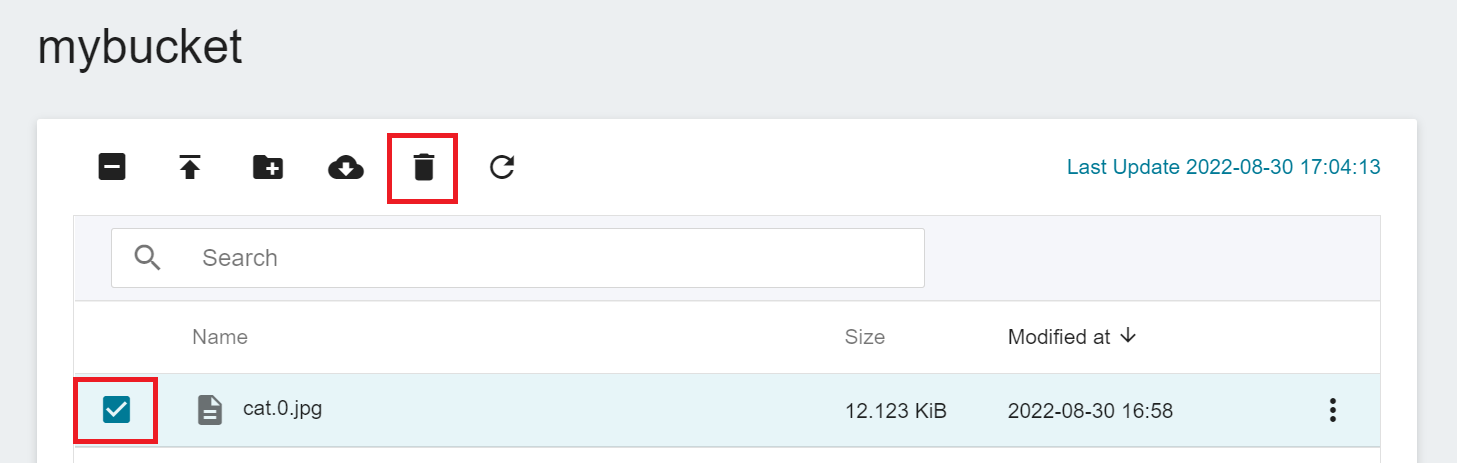
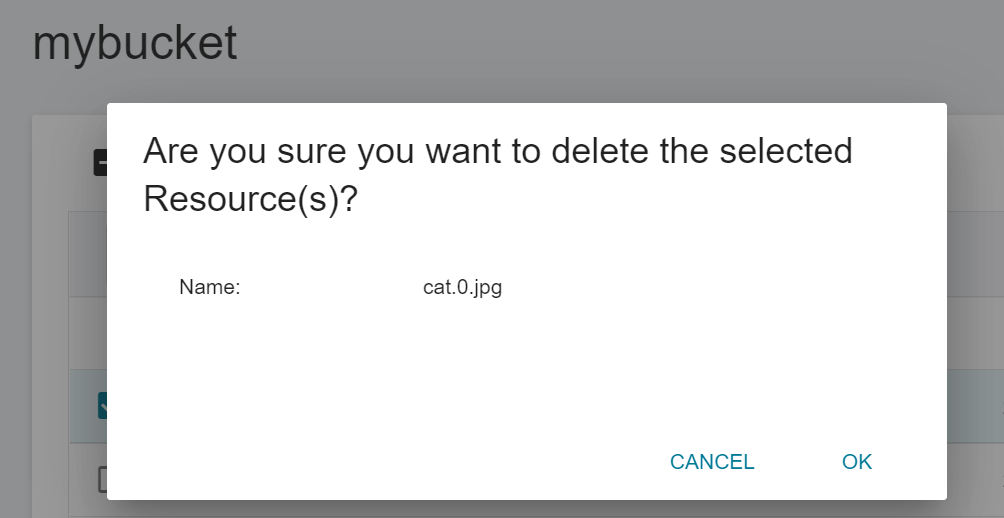
### Delete Files
* Select the files to be deleted in the bucket's content list, then click the Delete icon in the command bar above, and click **OK** in the confirmation window.
## S3 Access Info
* The Storage Service uses Amazon S3 compatible transfer protocol for file access. Besides accessing the files in the bucket through the user interface, you can also use other third-party softwares to transfer large files or multiple files, such as:
* Windows: Use [**S3 Browser**](#Use-S3-Browser) or [**Cyberduck**](#Use-Cyberduck)
* MacOS: Use [**Cyberduck**](#Use-Cyberduck)
* Click **S3 Access Info** in the left menu bar to enter the S3 Access Info page.
* The **S3 Access Info** page provides access info for the Storage Service, including service endpoint (using an SSL connection), Access Key, and Secret Key.
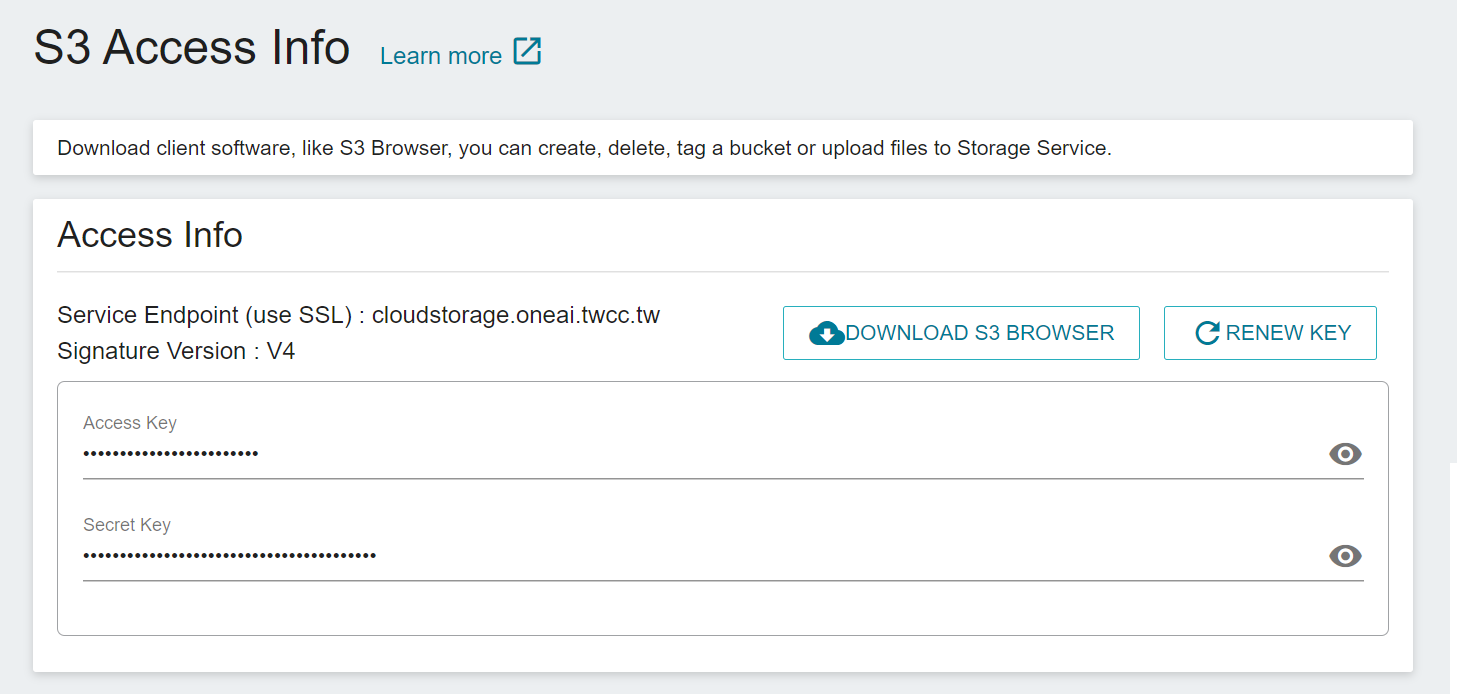
* Click **RENEW KEY** at the top right to renew your key.
:::info
:bulb:**Tips for Using the Key**
1. There is no preset expiration date for this S3 key. Once it is set in the key settings of the third-party software, you can connect directly when you open the third-party software next time.
2. Please keep your key safe, or update the key regularly to prevent key leakage. After the key is updated, please remember to update the key settings in the third-party software.
:::
### Use S3 Browser
* S3 Browser is a simple and easy-to-use Amazon S3 Windows client program that provides a simple web service interface for storing and retrieving data from anywhere on the web at any time. The free version of S3 Browser is for non-commercial use only, please refer to the [**official website of S3 Browser**](http://s3browser.com/) for details.
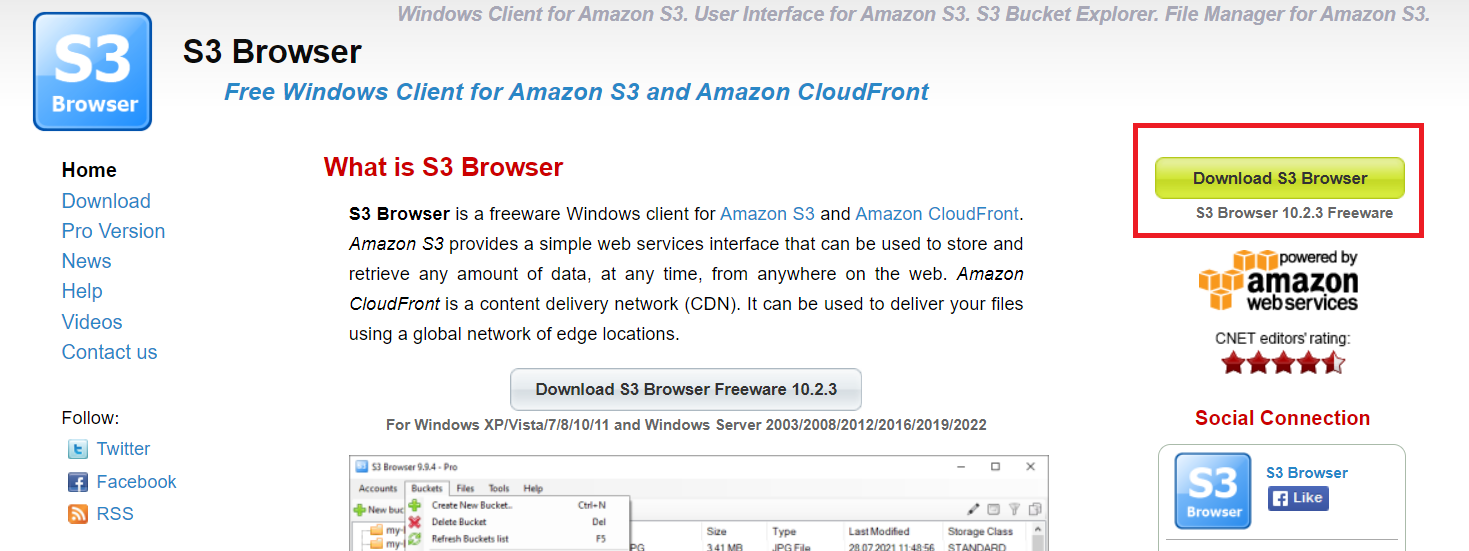
* If you have not installed S3 Browser before, please go to the [**official website of S3 Browser**](http://s3browser.com/), and then click **Download S3 Browser** to download and install S3 Browser.
* After installation, open S3 Browser and set the access info of the storage service as below:
- Account Type: S3 Compatible Storage
- REST Endpoint: The service endpoint as shown in the **S3 Access Info** page
- Access Key ID: The Access Key as shown in the **S3 Access Info** page
- Secret Access Key: The Secret Key as shown in the **S3 Access Info** page
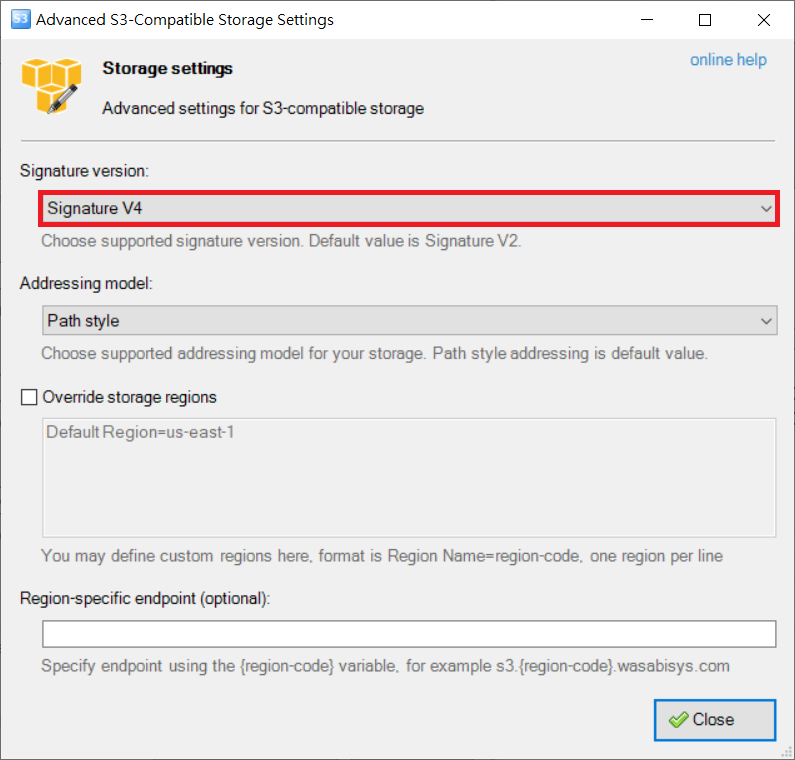
- Signature Version: Signature V4
:::info
:bulb:**Tips:** Below is an example using S3 Browser version 10.2.3. If you are using other versions, please refer to the [**Instructions on the official website of S3 Browser**](http://s3browser.com/).
:::
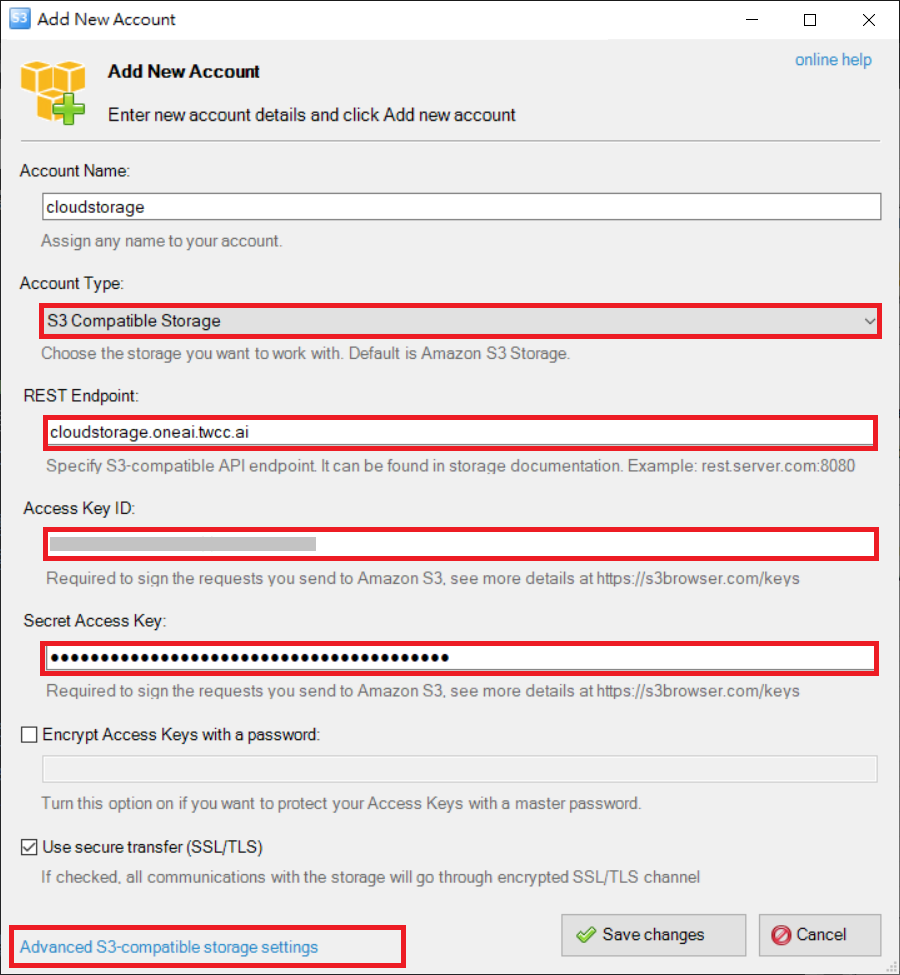
* Click **Advanced S3-compatible storage settings**, and then select Signature version: Signature V4.
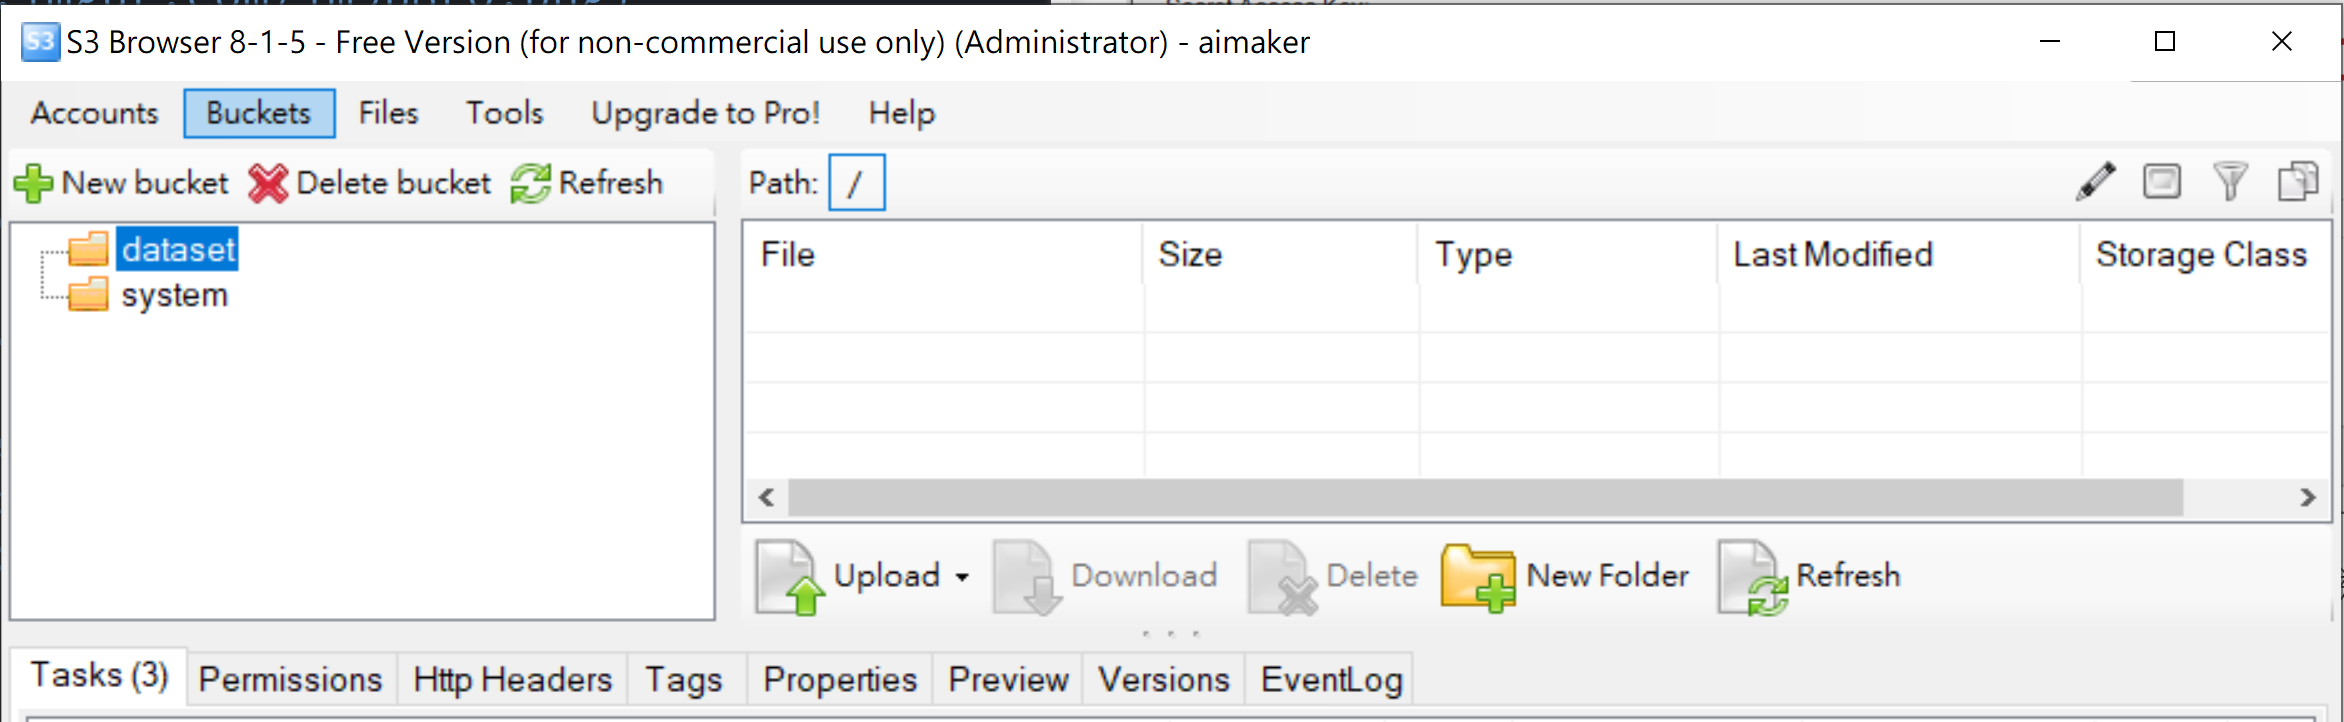
* Once successfully connected, you can see the bucket list from the storage service, and you can also create a new bucket through S3 Browser.
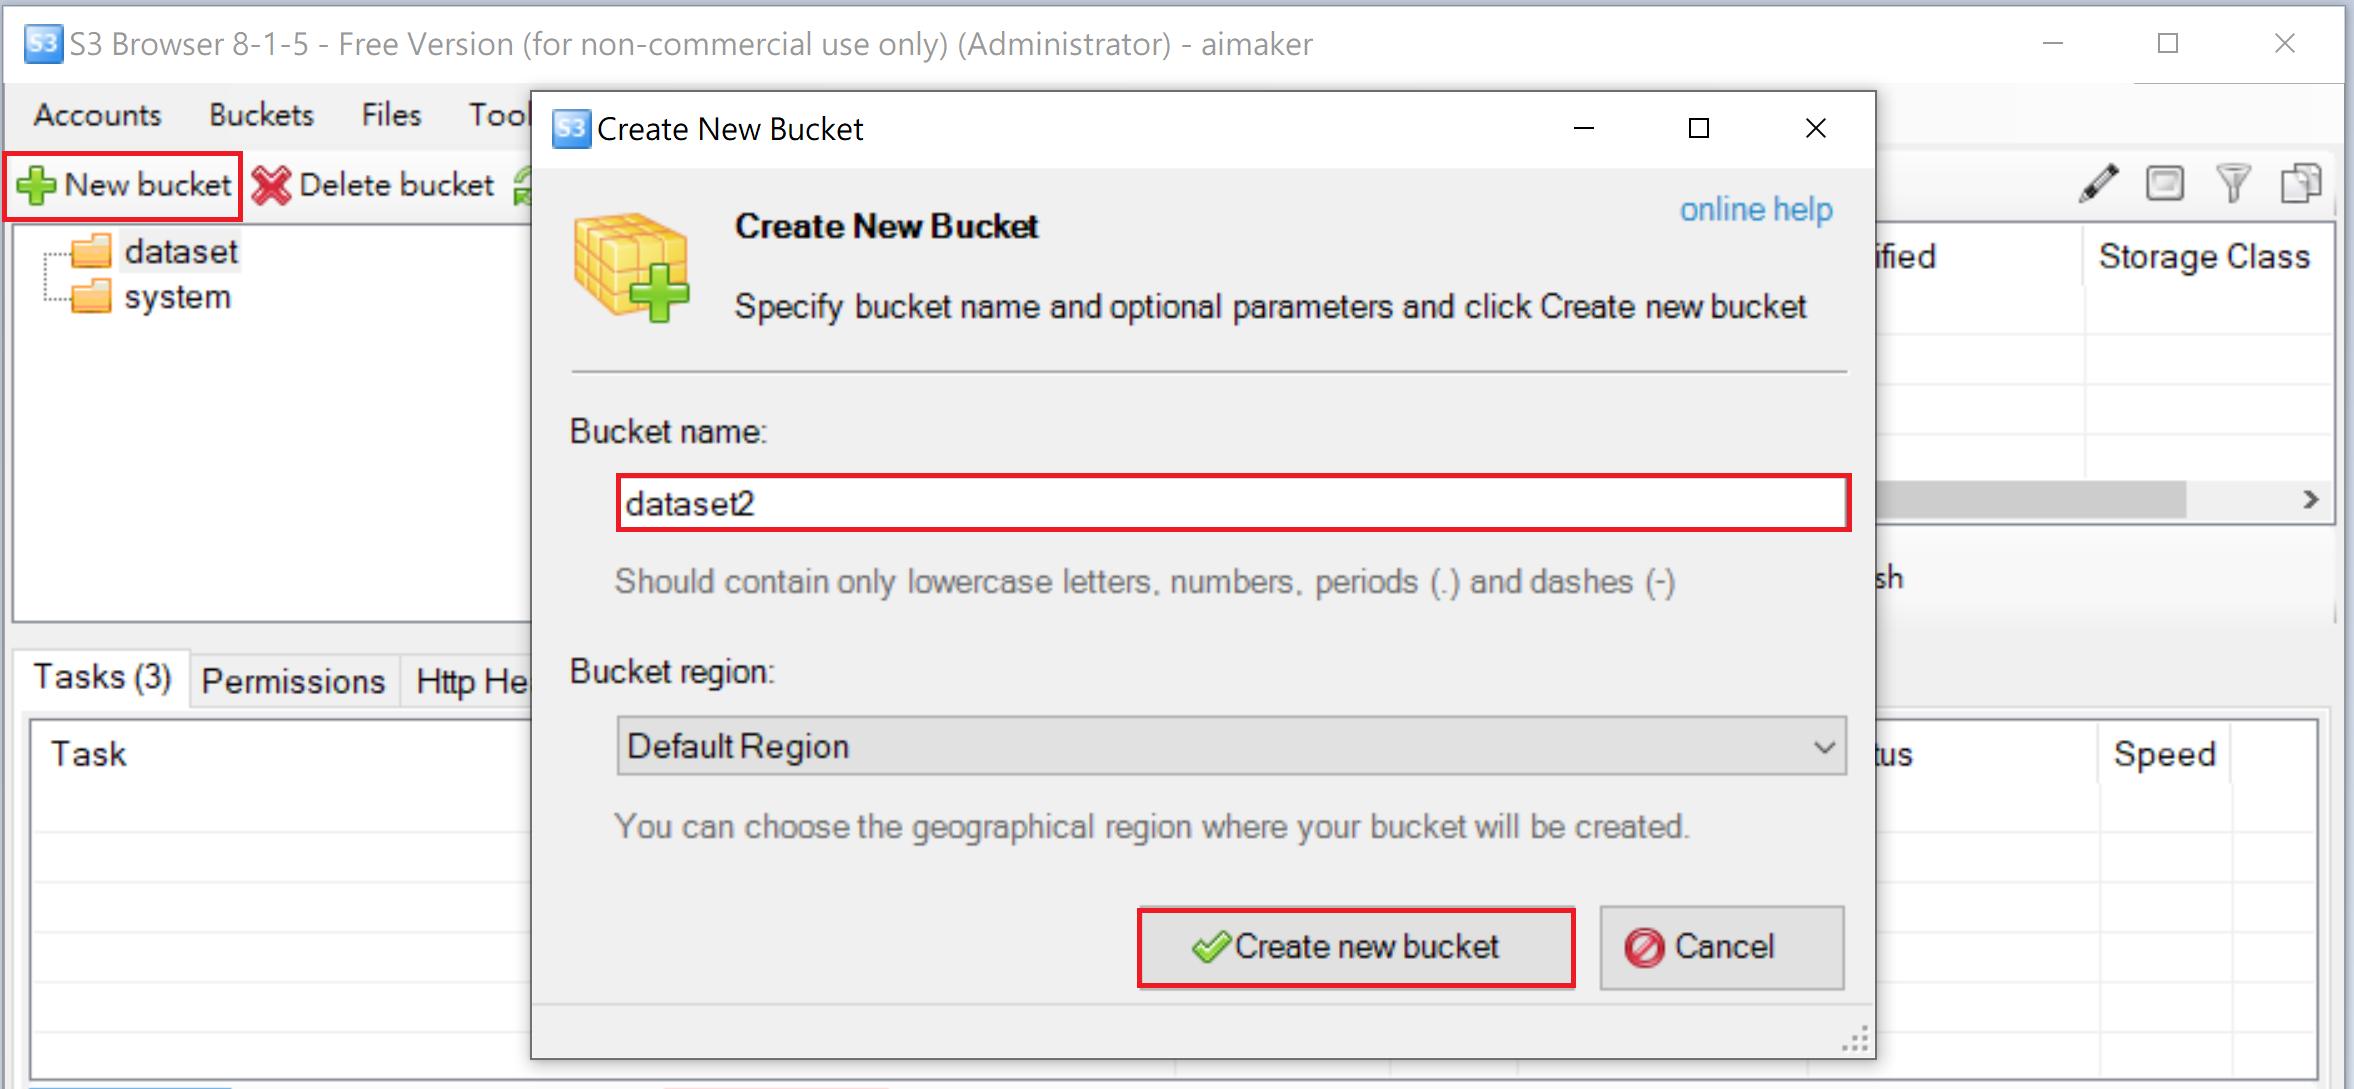
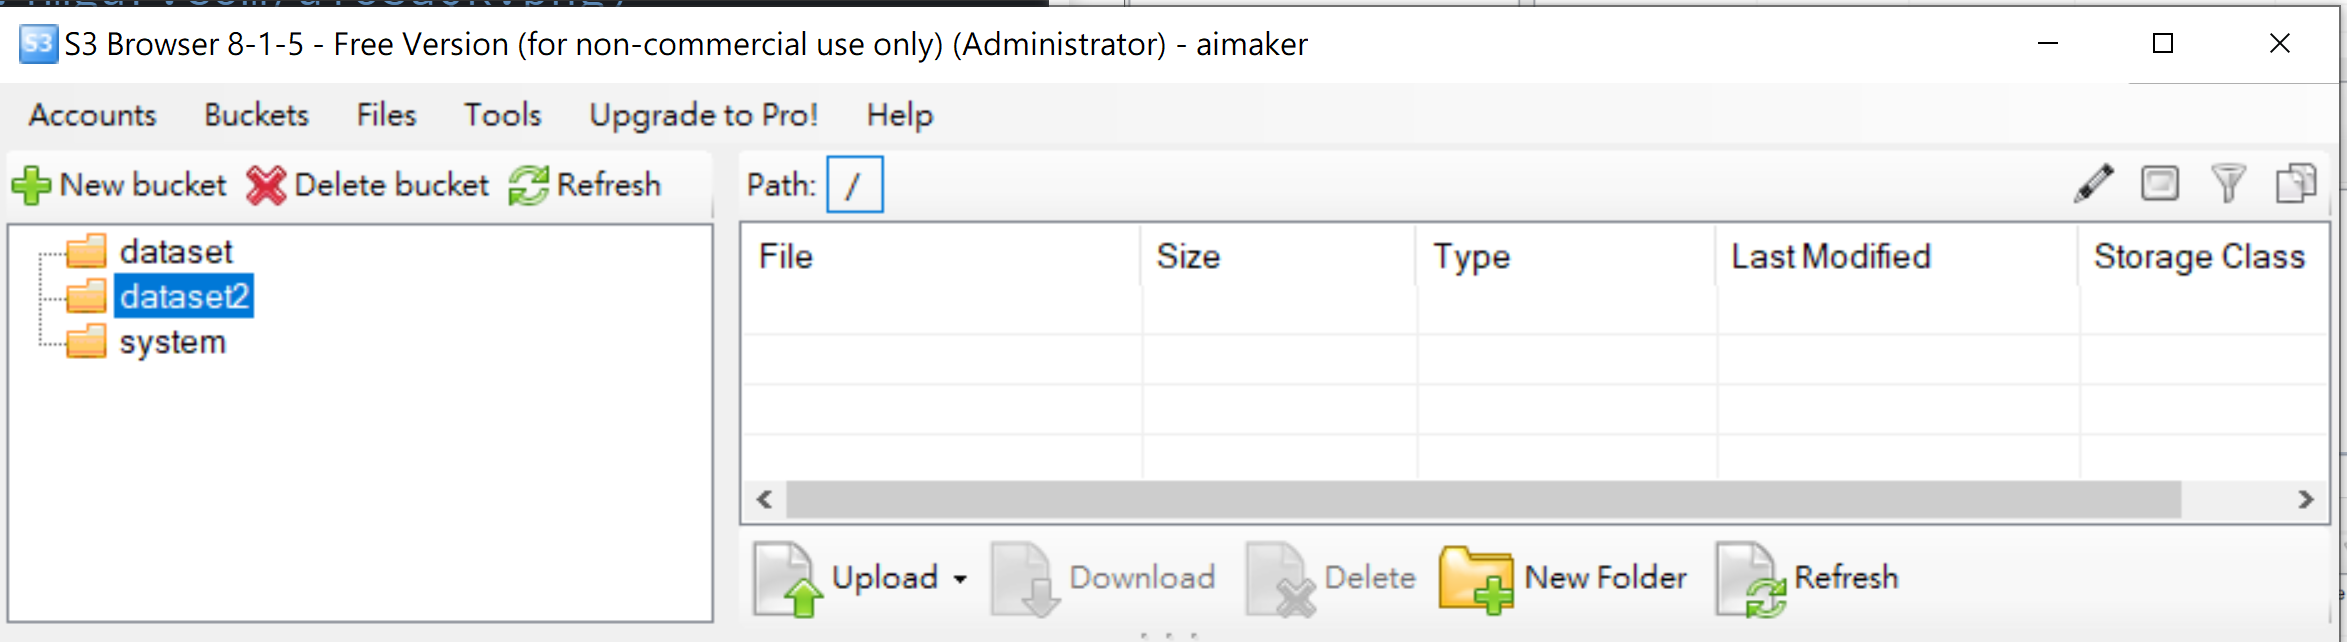
* Click on **+New bucket** in S3 Browser, then enter the name of the bucket to be created in the Create New Bucket window, and then click **Create new bucket**.
* Click the bucket name on the left to upload or download files.
### Use Cyberduck
* Cyberduck is a set of file transfer tools for Mac and Windows. It can also be used to manage buckets in Storage Service, and to quickly transfer and browse files between local and remote hosts.
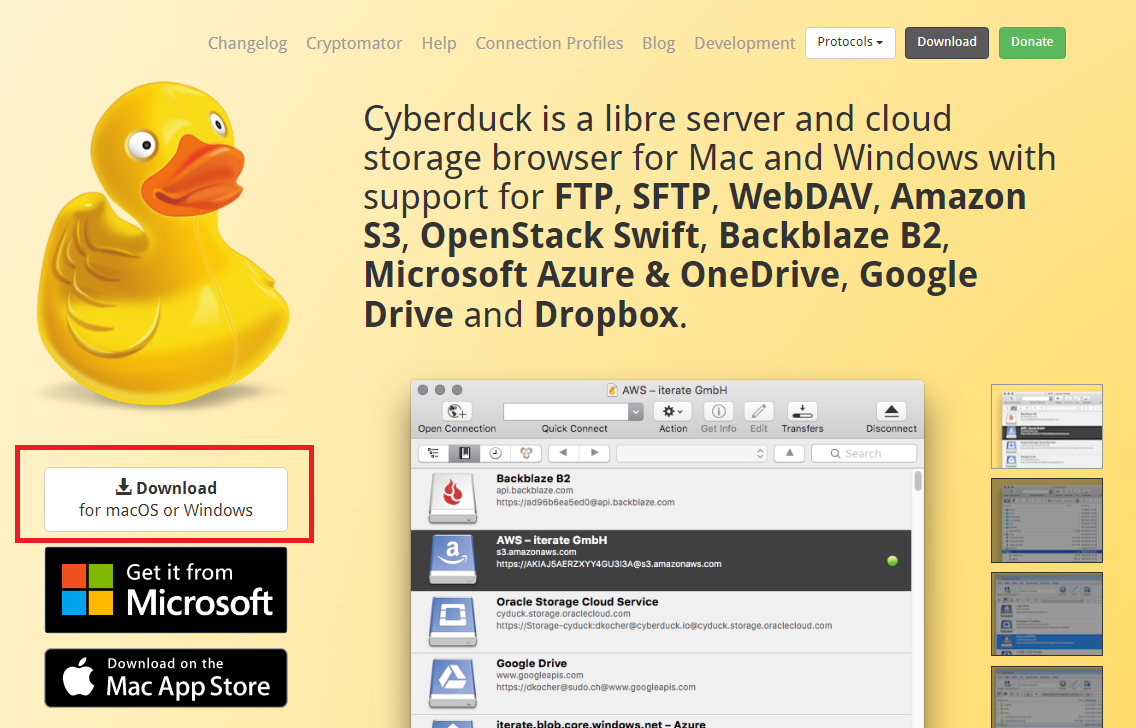
* If you have not installed Cyberduck before, please go to the [**Cyberduck's official website**](https://cyberduck.io/) to download and install.
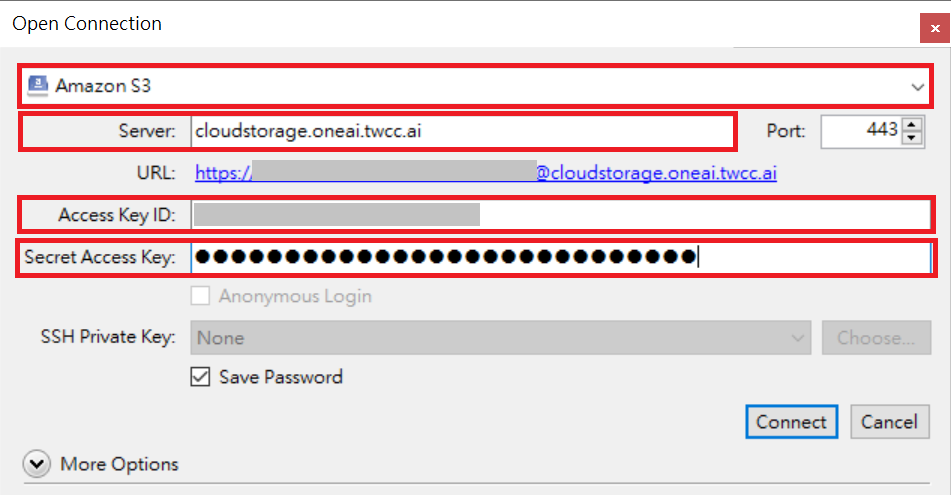
* After installation, open Cyberduck and click **Open Connection**

* Set the access info of the storage service as below:
- Connection Profile: **Amazon S3**
- Server: The service endpoint as shown in the **S3 Access Info** page
- Access Key ID: Access Key as shown in the **S3 Access Info** page
- Secret Access Key: Secret Key as shown in the **S3 Access Info** page
:::info
:bulb:**Tips:** Below is an example using Cyberduck Windows version 8.0.2. The Cyberduck interface for Mac version is similar to Windows version. If you are using other versions, please refer to the [**Instructions on the official website of Cyberduck**](https://cyberduck.io/).
:::
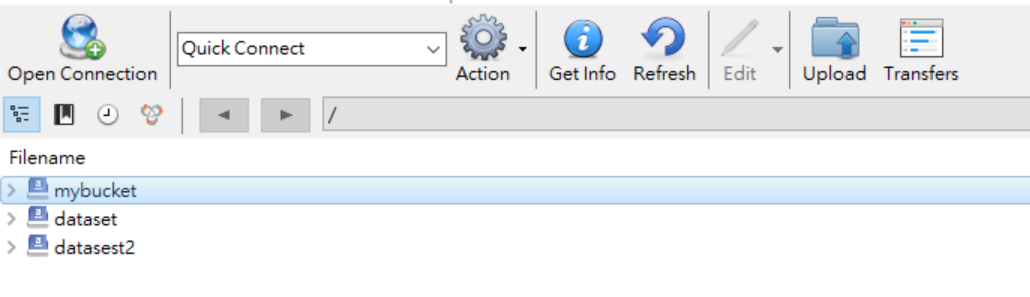
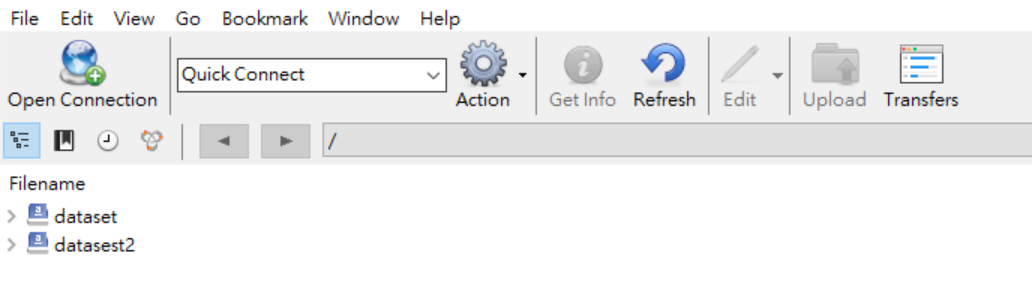
* Once successfully connected, you can see the bucket list from the storage service.
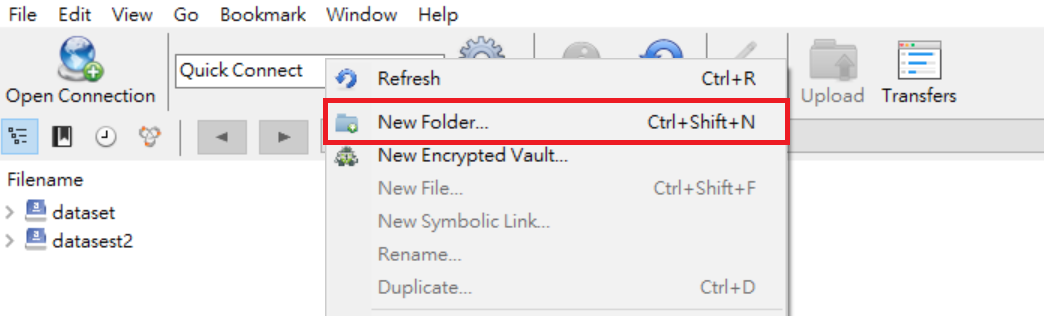
* Right-click on the blank space of Cyberduck, then click **New Folder**, and then enter the name of the bucket to be created in the Create New Folder window, and then click **Create**.
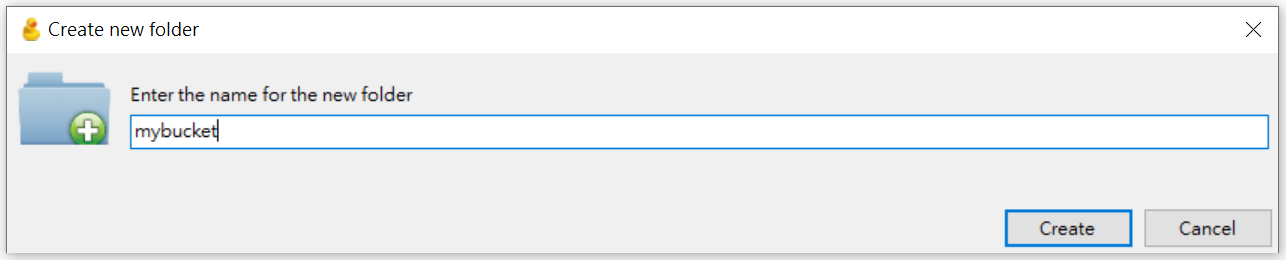
* Click the bucket name on the left to upload or download files.